Make It: Carnival Birthday Party!

We had so much fun putting together this fun birthday party for my little Sister in Law.

It was a carnival-themed with lots of color and vintage vibes.

We had a lot of colorful triangle flags hanging across the room most of which were made with colored paper cut into an even isosceles triangle and folded over the yarn with a little glue.  The extra ends needed folded in.  Other string can be used but I recommend using only ribbon or yarn that does not fray easily.  To keep it from fraying, try putting a little piece of tape over the end.  These are a fairly versatile decoration that can be used for years to come.

emma-birthday-2013_1

A lily pad pond (above).  I just cut out colored yellow and green foam into circles or lily pad shapes.  Then the children could attempt to throw coins to land on them.

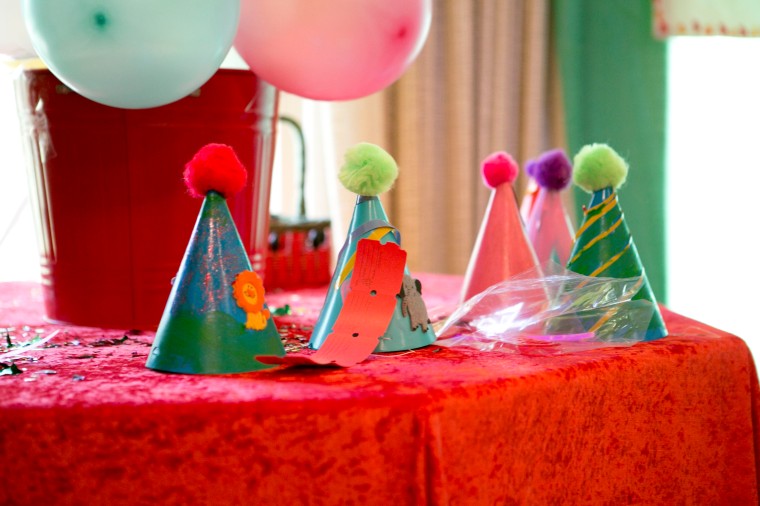
Decorative Party hats. My sis in law Megan prepared this one.  We had the kids decorate their own hats to wear.  This is a great activity to do as you wait for everyone to arrive. pom poms, glitter glue, stickers, paint etc.

emma-birthday-2013_2

This triangle flag banner has been used a lot.  As props for engagement photos, party decor etc.  But as you can see it is starting to fray which is why I recommend taping the ends and picking a ribbon that is sturdy, like cotton.  Then it can be used again and again.emma-birthday-2013_3

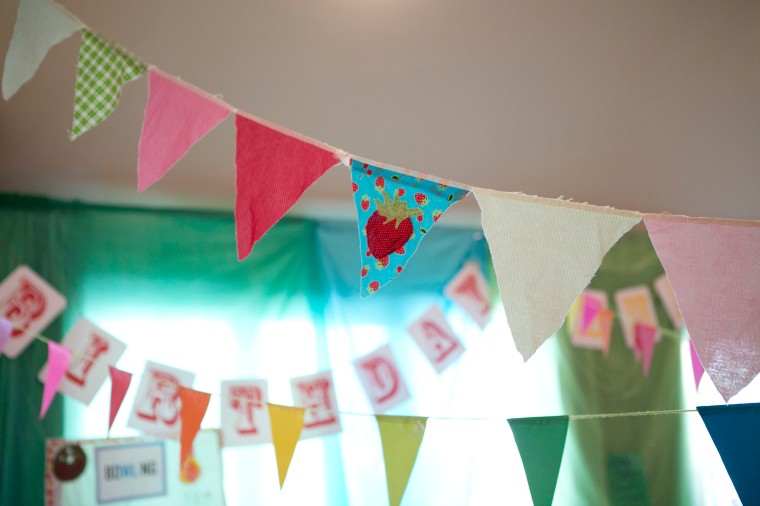
(Below) the Happy Birthday banner was printed out on card stock.  Get your FREE PRINTABLE for this Happy Birthday Banner here. (And please subscribe!)  Then we just hole punched them and attached them together.

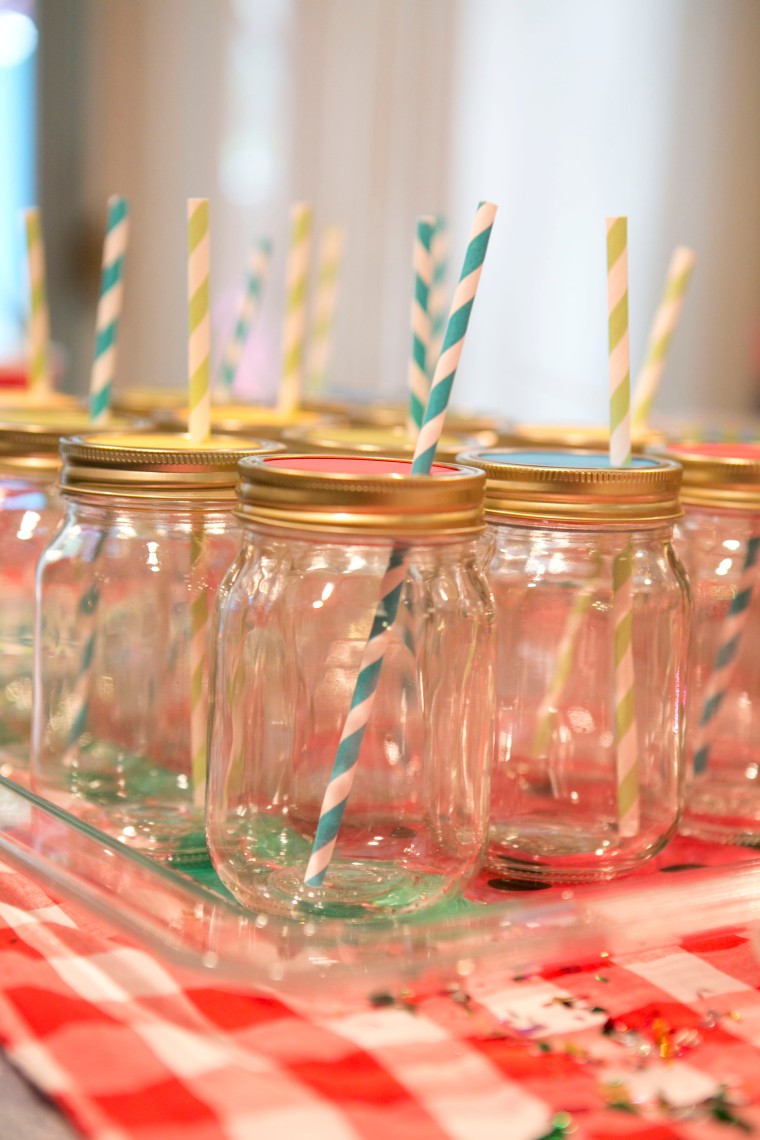
We had access to some great little TV dinner tables that were the perfect size for stacking cups.  The little red and white checkered print went perfectly with our cute vintage theme. The cups were semi study plastic cups. Then you will also see here, is a bowling set that we found in the toys.

To make the booths feel a bit more like booths since this was all inside, we used colorful plastic table clothes (the cheap disposable kind) This really dressed up the room and was easy to tape up.

emma-birthday-2013_4

The stairs made for a perfect Prize zone.  We could layer them up based on number of tokens required.  Each child received tickets upon arrival but was able to win tokens, which were just wooden chips about 2.5 inches big and painted.emma-birthday-2013_5

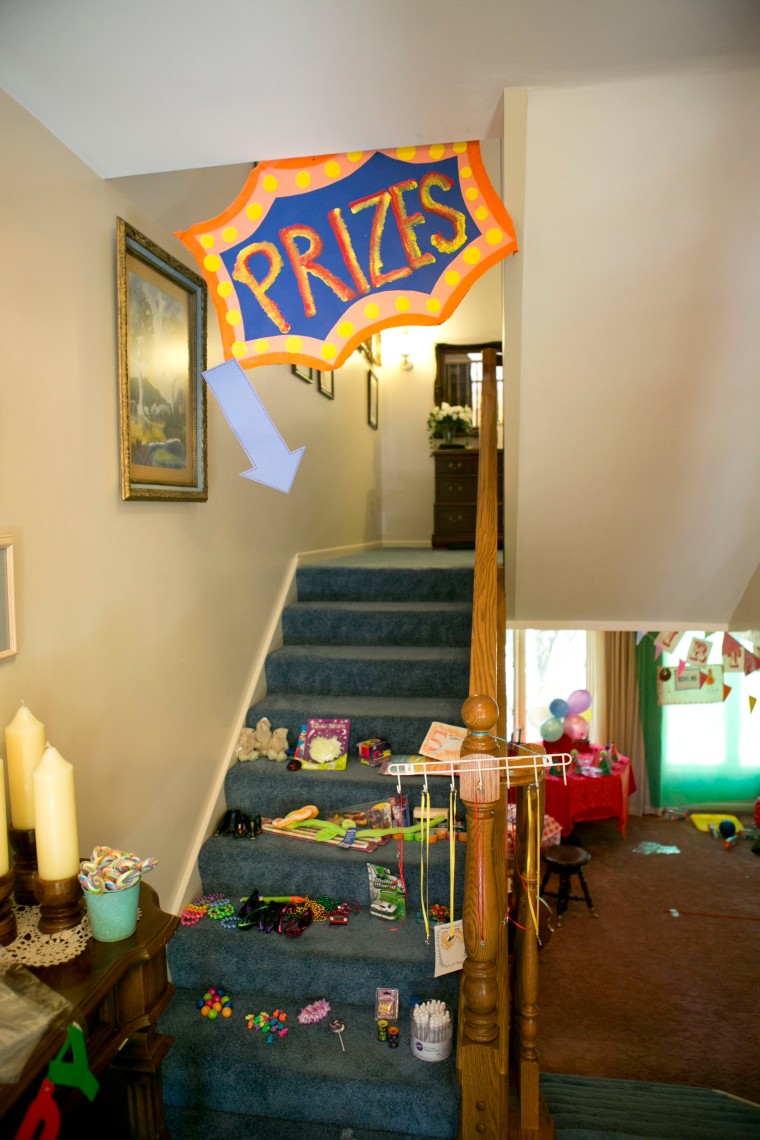
The sisters and mom put together this fun personalized poster.  We put it near the entrance where the bags for their prizes were. They basically could make their own goodie bags to take home based on the prizes them won.  Gumballs in a mason jar made for a fun centerpiece.  I loved the pinwheels sticking out.  But beware, if you are doing your party outside, be sure to consider sticky heat that could melt them!emma-birthday-2013_6

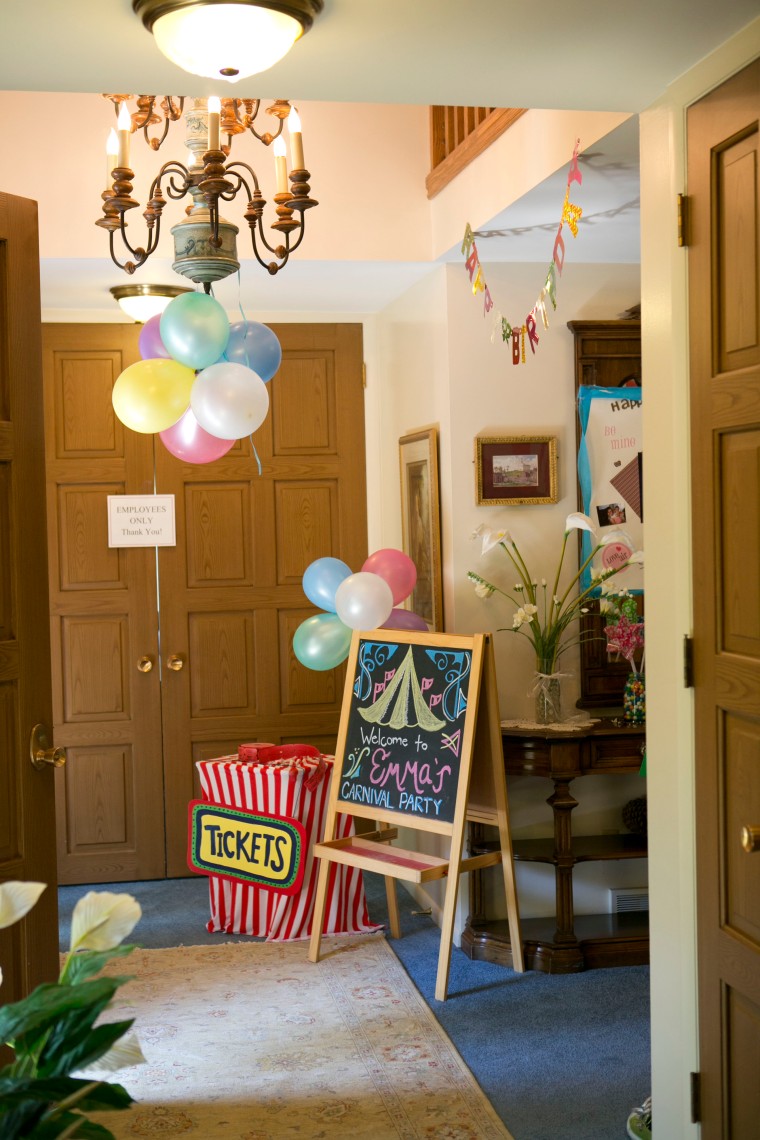
This is a chalk board that I have used for countless activities and carnival themed parties.  We just found a vintage design online to style after with chalk.  BTW, if you do not want your chalk to get smudged than chalk pens will help with that!  Or to create smooth chalk lines, try soaking your chalk for a few minutes in water.  (that was a trick we used when I use to work at a restaurant as a hostess) My sister in law drew up this cute board to welcome the guests.emma-birthday-2013_7

The ticket booth was fun fun! We again used a TV food table as it was the perfect size and then I had a piece of stretchy red and white striped fabric that I just clamped to the back.  The ticket sign was a tag board yellow piece painted and hung with yarn.  The red roll of tickets has lasted through about 6 carnival parties so far and was very worth the purchase.  I just found those as a Party City store.emma-birthday-2013_8

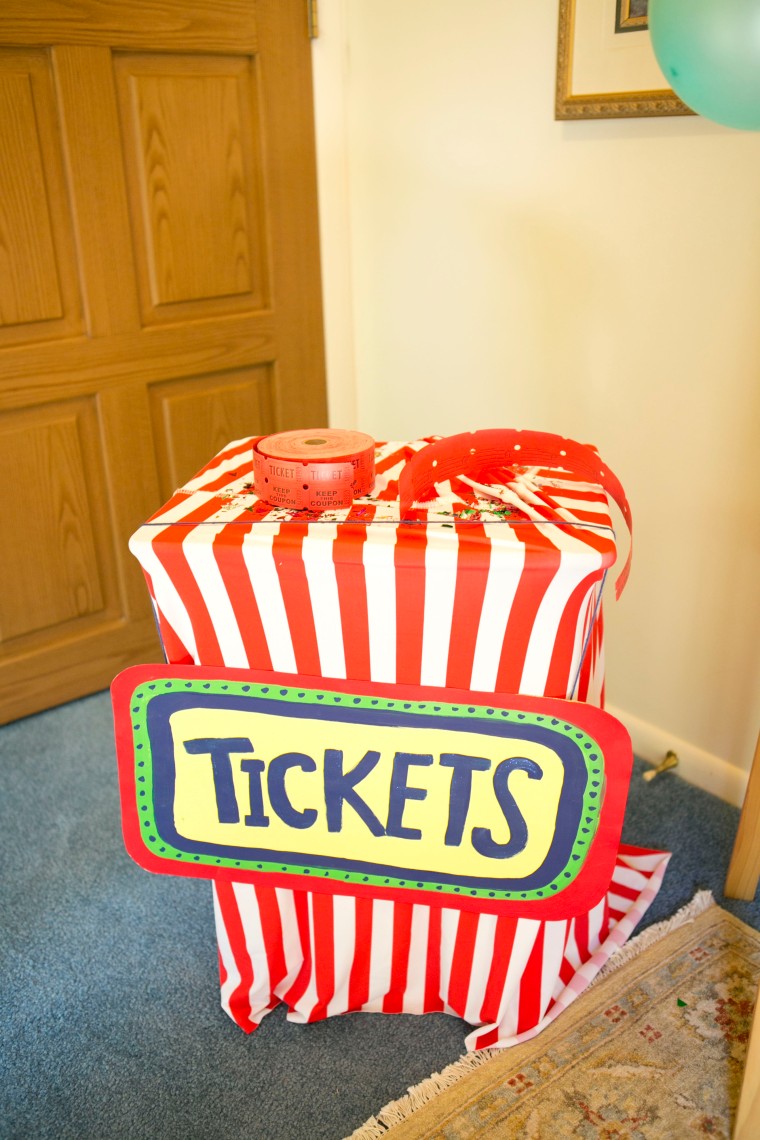
You can tell that some of my decorative pieces have already seen their share of parties!  I think when redoing this piece it will use red and white study cotton and take the time to sew it together for prolonged use.  This has lasted about 4 parties.  It is red and white tag board and cut and glued together with the bottom rounded.emma-birthday-2013_9emma-birthday-2013_10emma-birthday-2013_11emma-birthday-2013_12emma-birthday-2013_13

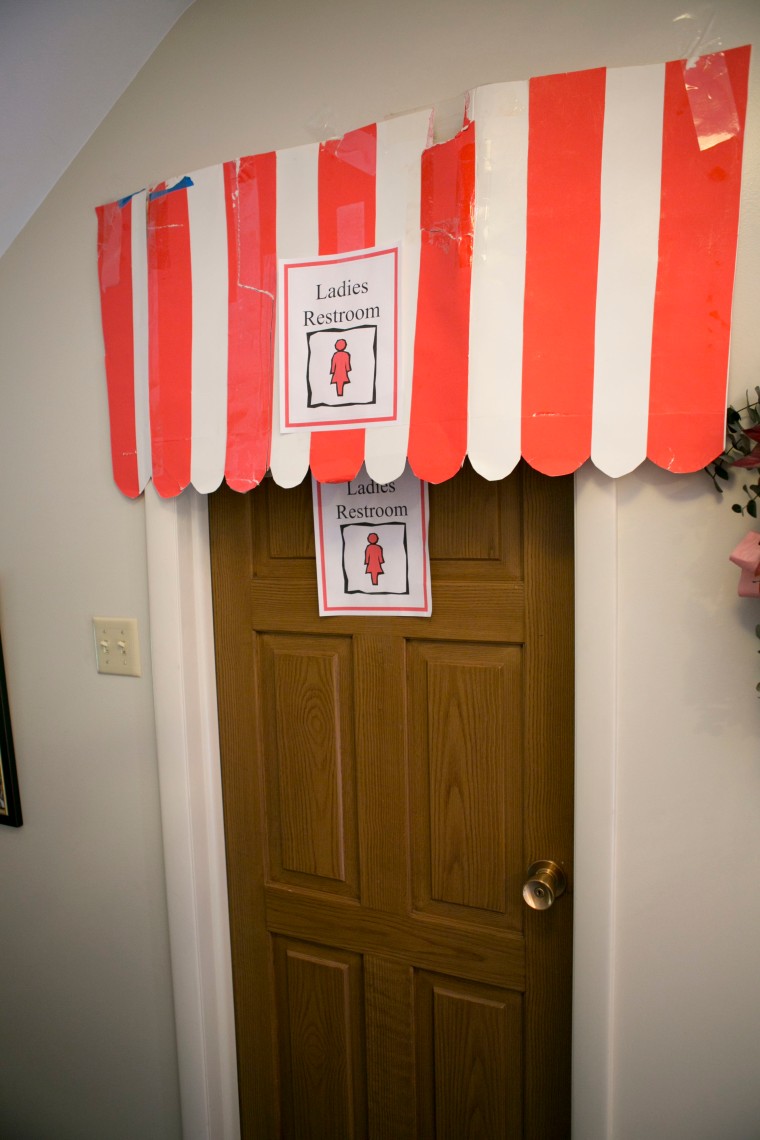
The birthday girl!  And her sisters love her to pieces to put together such a fun party:)emma-birthday-2013_14emma-birthday-2013_15

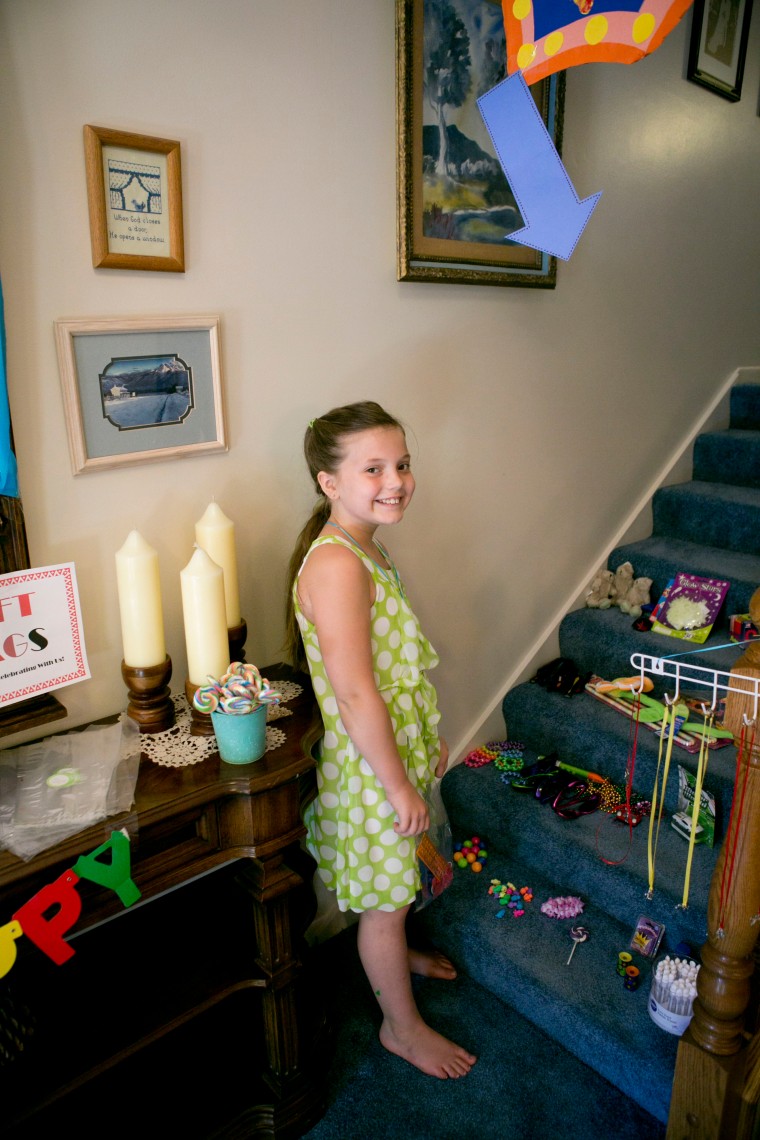
We did very “professional” face painting:)  For the props I used Femo clay for molding to the slick into fun shapes like lips and mustaches, then baked it and once cooled glued it to the stick.

emma-birthday-2013_18

Megan with her awesome party hat!emma-birthday-2013_20

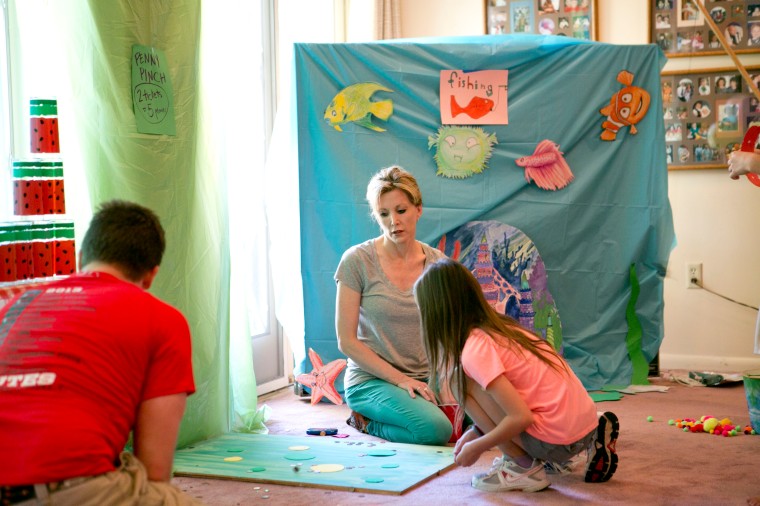
Our fishing pond was made with:

– Colorful draw fish, cut out and lamented. (I have found that lamenting something like this is well worth it!  I have used these for dozens of things, like lessons at church, preschool and parties with relevant themes)

– Tape to tape on the sign and fish

– I created a fish setting on a piece of tag board with paint.  In the future I might buy a cheap blue sheet and then get some fabric paints to decorate a background)

-A 1.5 inch rod

-About 3 feet of string taped at the end

-A clothes pin tied to the other end of the stick for clamping the prizes to

To operate the fishing booth, we folded up a ping pong table which needed to happen anyway to make space for the party, but you can tie a rope to two sturdy anchor points or use a long stick or light weight wood beam to rest over two semi high surfaces such as two ladders.emma-birthday-2013_23

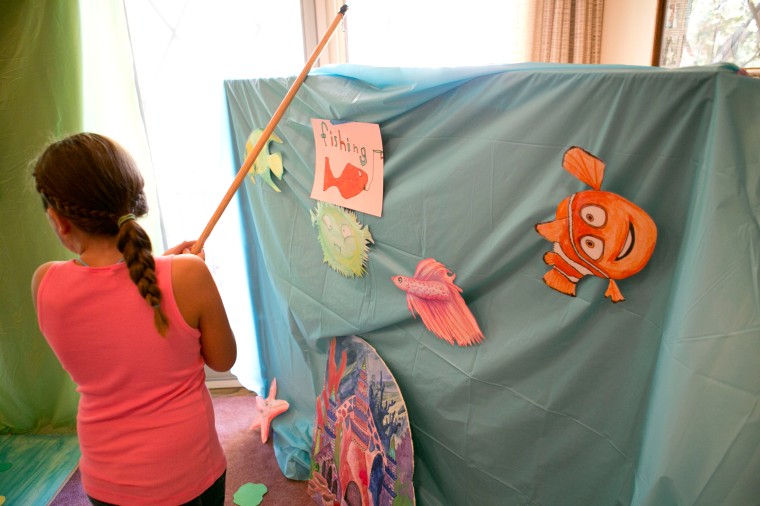
Part of what makes a party fun was to make it feel just condensed enough that it feels lively and fun.  This same principle is used for city planning in effective city lay outs where the parking is put at the back to the store fronts can come right up to the street.  So anyway, we were condensed as is in our space, but you want to find that even ground of spreading out enough for the games but having everything close enough that there is a fun energy present that they can all share.

For the other side of the room I used my photo backdrop stand with clamps to hang backdrops and plastic tables clothes.  Back porch poles with ropes tied in between or two ladders with wood safely clamped across in place are another route.  Also in the picture, another game that was fun was cups for tossing little balls into.

You can’t full see it in this picture, so I will hunt for a better one, but behind all this we had a theater area, where while the kids ate pizza and cake they watched a movie that we had actually made.  They had to of course pay with a ‘ticket’ to get into the movie.

All in all this party was a huge success!emma-birthday-2013_25

What party themes have you tried?  Share your party adventures in a comment below! What worked or didn’t work for your little crew?

Don’t forget to subscribe for many more of our fun and festive adventures in travel, parties, parenting, crafting and more!

See It: Our Adventures at the Indianapolis Children’s Museum

Ok you guys.  If you are making your way through Indianapolis with the family, you have GOT to put this museum on the list!  It is ranked #1 in the country and was so much fun!  We could have gone several days in a row if we were there for longer.  We just visited my hubby while he was doing his internship there over the summer so while he was working we went to go play.  Anyway, there is so much here!  We were there for half the day but barely made it through 1/2 of it if that.

Indianpolis_Childrens_Museum-001
Bumblebee from Transformers

Indianpolis_Childrens_Museum-001_1

Every once in a while when we are at a museum, there will be that occasional exhibit that brings out the “kid” in me.  You know what I mean?  I just am so passionate about miniature things.  I love the art of it. So when I saw these dollhouse miniatures at the Children’s museum my heart skipped a beat.  This would be a hobby I wouldn’t mind perusing one day.  In a way we are already doing so on our own with our miniature dollhouse creations and fairy house building.  But note, I do have the help of toddlers.  They love it though.  We have built one for each season for our family room table of decor. Indianpolis_Childrens_Museum-001_2Indianpolis_Childrens_Museum-001_3Indianpolis_Childrens_Museum-001_4

Would you have the patience and delicate hand required to pursue such an art?  Tell me in the comments below!Indianpolis_Childrens_Museum-001_5Indianpolis_Childrens_Museum-001_6

I love this little colonial setup.  One of these days we might try to my our way to Colonial Williamsburg before leaving the east coast.Indianpolis_Childrens_Museum-001_7Indianpolis_Childrens_Museum-001_8Indianpolis_Childrens_Museum-001_9

When I was about 11, a best friend of mine had a full dollhouse like this one.  It was complete with electricity… the works.  I remember her telling me about how her grandparents has started making it for the oldest sister, but it didn’t get completed until the last sister was about 8 or 9.  Such a time consuming art I guess, but I think there is certainly a reason why!Indianpolis_Childrens_Museum-001_10Indianpolis_Childrens_Museum-001_11Indianpolis_Childrens_Museum-001_12

When we were in Seattle, we got a chance to go to the Chihuly glass museum featuring amazing work like this one displayed in the center of the winding stairs at the childrens museum and it was stunning.  The artist was is so devoted to his art, that even when he lost one eye in glass making and now wears an eye patch, he continues on.  If I lost an eye as a photographer… well I guess that would work out ok as I close one eye anyway to look through the shutter.

Indianpolis_Childrens_Museum-001_13
Chihuly glass art exhibit

Mister Milo was sooo focused on being the racecar driver, I really couldn’t get his attention 😉 Pretty much he is at, “Whatever mom!  I am busy drivin a car here!”Indianpolis_Childrens_Museum-001_17

In Salt Lake City at the Gateway Children’s museum there, The Discovery Gateway they have an amazing room devoted to balls where you can pop them in the tubes and send them about.  They has a similar setup here with balls and scarfs and other fun floating things you could send up flying.Indianpolis_Childrens_Museum-001_18

And .. the splash pad!  They do have splash protection gear but my kids are too cool for that:) JK.  Indianpolis_Childrens_Museum-001_19

Madeline ready with her goggles to play in the wind tunnel and send scarves and papers flying up.Indianpolis_Childrens_Museum-001_20

This was part of the creatures in the forest area.  As a mom, I couldn’t stop thinking… how often do these furry guys get washed?  And that is what good hand sanitize is for.  It is when your 3 year old tries to come at you and give you snuggly kisses with the shared furry friend that you kindly pass.Indianpolis_Childrens_Museum-001_21Indianpolis_Childrens_Museum-001_22Indianpolis_Childrens_Museum-001_23

And this was one of our favorites!  Art corner! They started out this little class with a teacher giving a short lesson on expression and art talking about butterfly wings, then we got to make one out of coffee filters and watercolor paint.Indianpolis_Childrens_Museum-001_24

The kids used eye droppers to put their paint on their picture.  It was beautiful and proud mama art.  But unfortunately only lasted a few days with our upcoming travels.

Indianpolis_Childrens_Museum-001_25

Next we explored the archaeological digs where kids could reconstruct duplicates of the Emperor’s Silent Army and similar figures.Indianpolis_Childrens_Museum-001_26Indianpolis_Childrens_Museum-001_27Indianpolis_Childrens_Museum-001_28Indianpolis_Childrens_Museum-001_29Indianpolis_Childrens_Museum-001_30Indianpolis_Childrens_Museum-001_31Indianpolis_Childrens_Museum-001_32

And a fun under the sea “treasure hunters” exhibitIndianpolis_Childrens_Museum-001_33Indianpolis_Childrens_Museum-001_34Indianpolis_Childrens_Museum-001_35Indianpolis_Childrens_Museum-001_36Indianpolis_Childrens_Museum-001_37Indianpolis_Childrens_Museum-001_38

A giant plastic mummy kids could reconstruct.  This was of course too old for my kids but perfect for all those school groups coming in learning about mummies.Indianpolis_Childrens_Museum-001_39

It felt a bit like we were in Universal Studios or something.  With all the lights and effects.Indianpolis_Childrens_Museum-001_40Indianpolis_Childrens_Museum-001_41

Indianpolis_Childrens_Museum-001_42
How Egyptian Priests prepared mummies for the tomb

Indianpolis_Childrens_Museum-001_43Indianpolis_Childrens_Museum-001_44Indianpolis_Childrens_Museum-001_45Indianpolis_Childrens_Museum-001_46

Indianpolis_Childrens_Museum-001_47
Egyptian Amulet

Indianpolis_Childrens_Museum-001_48

The train exhibit was Milo’s FAVORITE!  Though he was pretty tired by this point.  They loved the tunnels that you could crawl under and see trains down there and the trains that went above.

Indianpolis_Childrens_Museum-001_49
Train Exhibit

I had a hard time peeling him away from this one.  Fortunately one distraction sits next to another which makes the transitions easier.Indianpolis_Childrens_Museum-001_51

For another career, I don’t think I would mind perusing miniature building.  How cute is this boho/ hobbit styled train station?  Reminds me of Harry Potter.Indianpolis_Childrens_Museum-001_52

A completely amazing full stream locomotive. Milo was ecstatic.

Indianpolis_Childrens_Museum-001_53
Steam Locomotive

An assortment of metal vintage trains.  Love these!  Reminds me of the grandparents fun tradition of a train going around the Christmas tree.  Smaller versions though.  These ones were pretty big!

Indianpolis_Childrens_Museum-001_54
Collection of Vintage Train models

Outside this windows were rolling tape of the countryside and such as you went on a pretend journey.

Indianpolis_Childrens_Museum-001_55
Inside the staged steamed locomotive for a ride

More vintage trains!  And me… Indianpolis_Childrens_Museum-001_56

Loved this train table and how you could stand in the middle of it if you wanted to.  I think that only other place I had seen this before was at the Raleigh Children’s museum.Indianpolis_Childrens_Museum-001_57Indianpolis_Childrens_Museum-001_58

In the basement of the Museum was an assortment of plastic Chihuly art pieces that the children could poke into the holes and make a masterpiece.  Also, there was a pretty legit rotating chair that leaned back so you could observe the art on the ceiling.  I would have loved to linger longer on it but somehow Milo still had a LOT of energy and was running about.  I will post a video here shortly. Indianpolis_Childrens_Museum-001_59

Getting to know our Asian neighbors! Madeline played house inside as setup of a Chinese home. Play food, the works.Indianpolis_Childrens_Museum-001_60

We could go to a play market place, learn calligraphy, watch a show (which we missed) and Madeline has fun dressing up in traditional Opera attire.Indianpolis_Childrens_Museum-001_61

Indianpolis_Childrens_Museum-001_62
Traditional Chinese Opera Attire

Indianpolis_Childrens_Museum-001_63

And last but not least, shadow puppets!  Can I just say that this is a developing passion of mine!  We have pursued that as a Christmas holiday tradition telling the Nativity story and make puppets each year for it.  I will make a separate post all about that shortly!

What were your favorite exhibits?  What was your favorite to visit and why?  Tell me in the comments below and don’t forget to subscribe!

Photography by: http://effervescentmediaworks.com

Easy Valentine Cards

Valentine’s season in one of our favorite crafting seasons!  We just love all the cute colors and hearts and gifts that we make for giving friends and family.

Here are some super easy and beautiful Valentine cards we made this year that include two current art trends, watercolor and glitter.  The simplicity of this craft is perfect for a pro yet personal touch.

Here is what I used:

To start I used the 6 x 9 watercolor paper, because I don’t care for a lot of cutting and I could simply cut it straight from the pad binding.  Once I had the number I wanted I folder them on a flat surface and used the handles of my scissors to make a cleanly folded crease.

From there I starting mixing my paint a touch with about a teaspoon or tablespoon of water. I like to not mix it completely together as a variety of tones make a prettier heart.

I loosely painted my hearts and for fun on a few I flecked so paint speckles on my flicking my brush against my hand a few inches away from the card.

Last I laid the cards flat.  To help reduce chances of the paint running, I go creative in how they were laid to make sure they were flat.  The paper does tend to warp temporarily with the water color paint but when it dries it will go back to normal.

Let the cards all dry, for about an hour or too.  Make sure they are completely dry as you will not want the glitter to cling to the wet parts and if you try to move them while they are still drying you are more likely to have the paint bleed.

When they are dry use a bottle of Elmer’s glue and put your calligraphy skills to use.  Make sure your glue is all down in the end of the bottle and test on another piece of paper to get use to the speed it comes out for writing.  I recommend sticking to short words like Love, or abbreviations like: u r a q t (you are a cutie) Which will make them smile mouthing it out and trying to figure it out.

Other ideas are: Hello Beautiful, Hey There, Happy Valentines, Sweet, Cutie, xoxo… Simply consider the receiver of the card and what would put a smile on their face.

Valentine Card DIY ideas _5
Photography by Effervescent Media Works

Sprinkle your glitter on all over your glue, gently shake it off of the plate and set aside, face up to dry.

What my kids loved: Helping sprinkle the glitter and also painting the cards.  My toddler is quite proud every time she completes her masterpiece and I love that.  It is half the reason for doing crafts like this is worth it.  Instilling pride, self-esteem, and patience etc.

And there you have it!  Have fun!

Comment below if you have made a craft like this or one like it!  How did it turn out?