The Ultimate Unicorn Party!

Unicorn-Birthday (9)
Photography by Effervescent Media Works

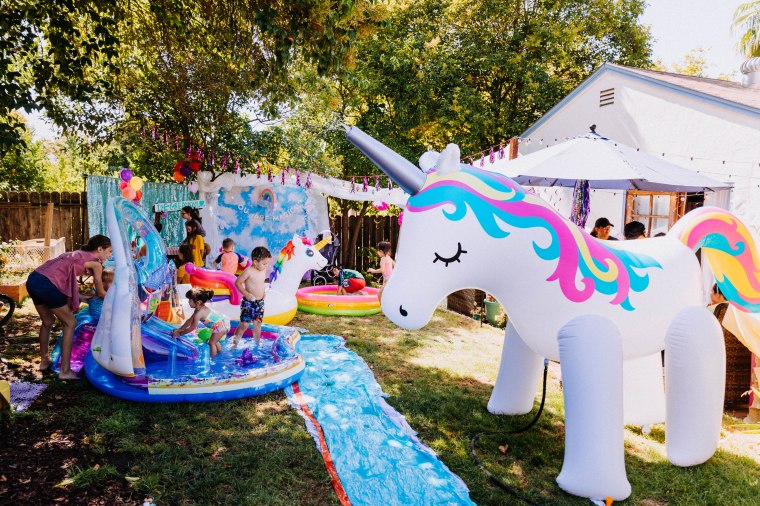
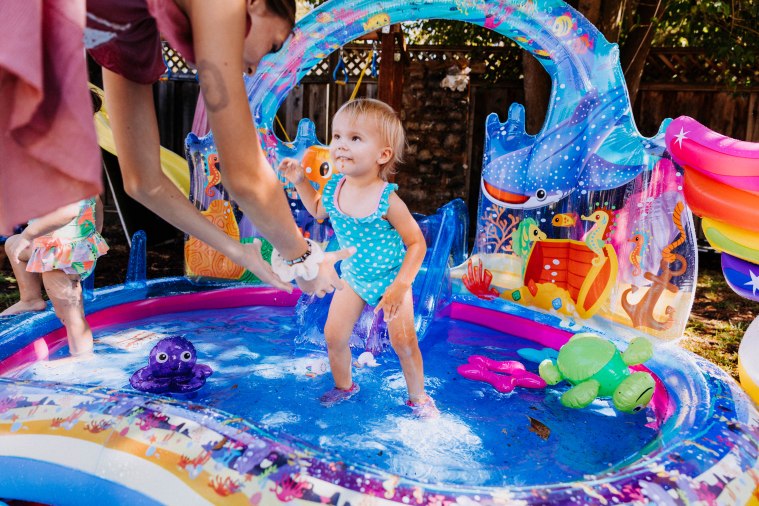
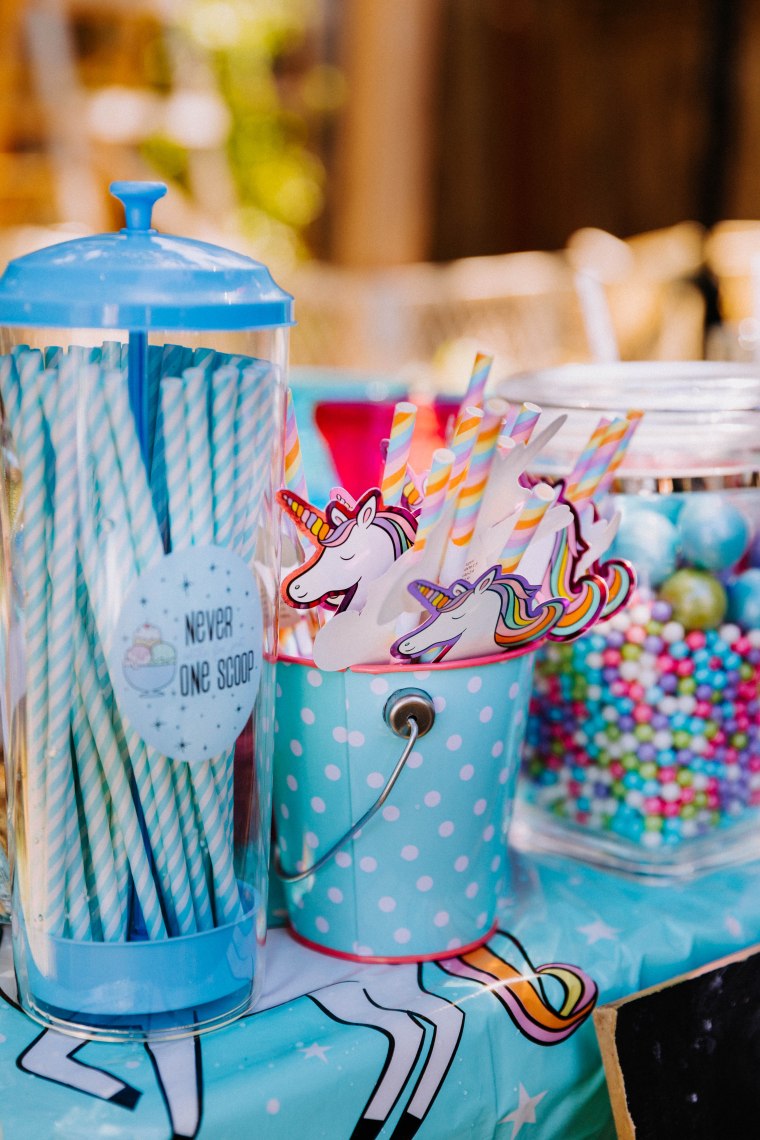
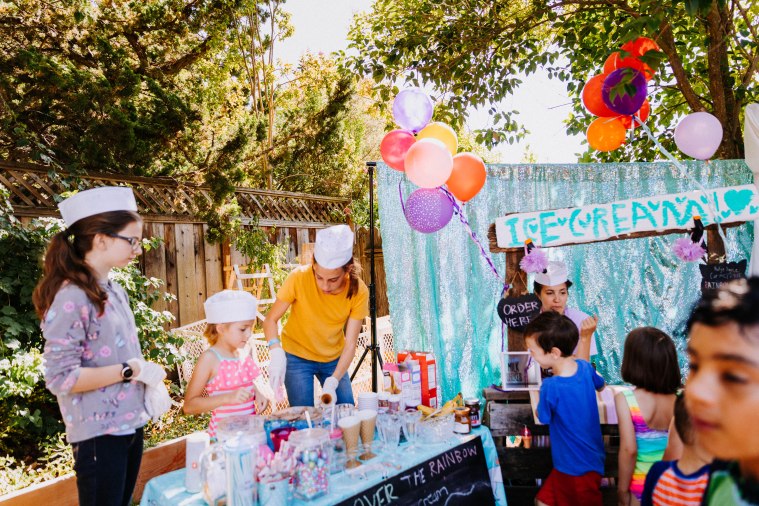
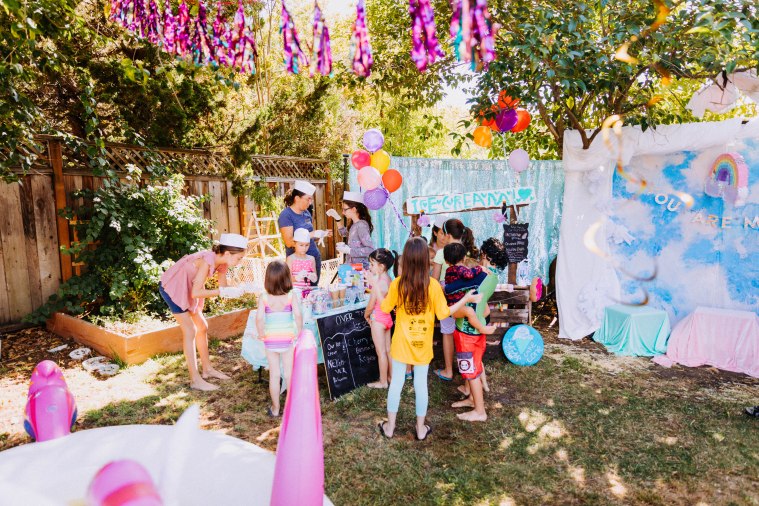
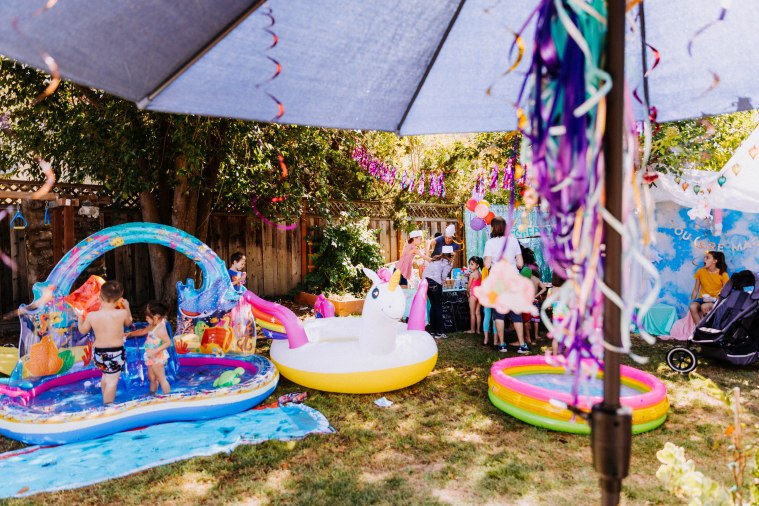
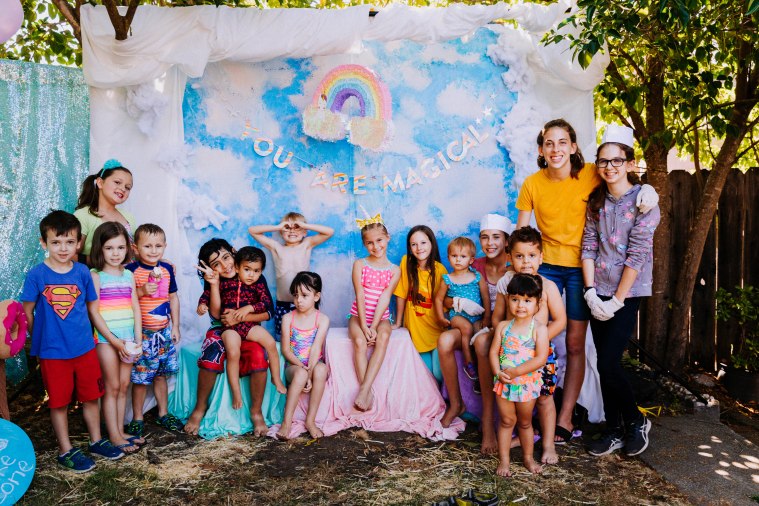
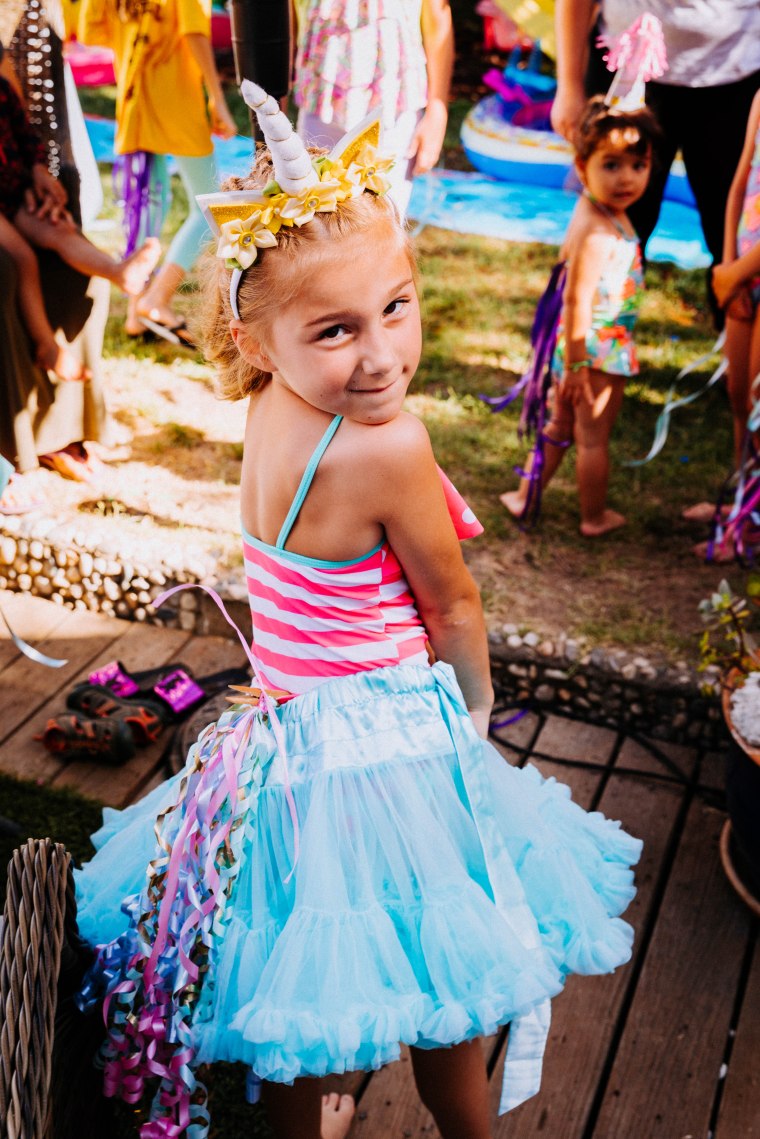
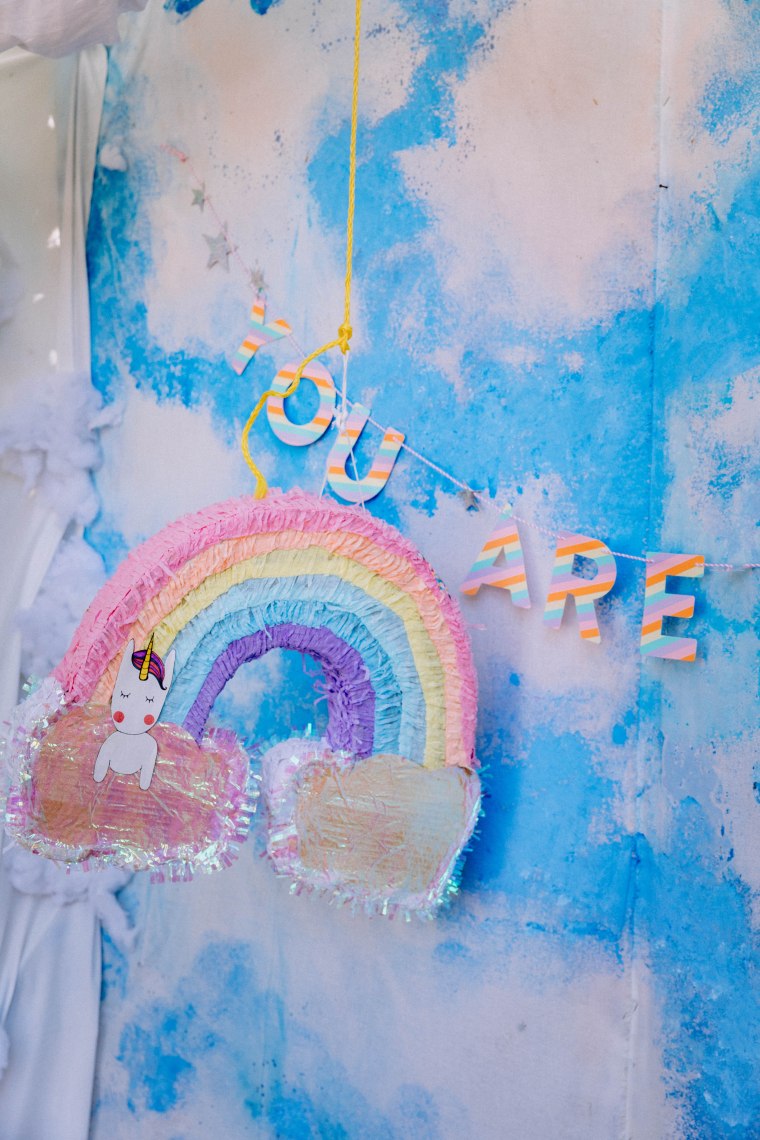
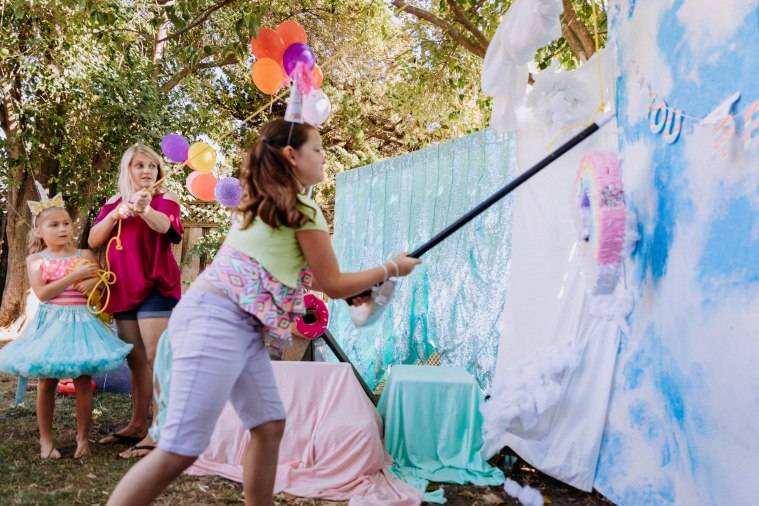
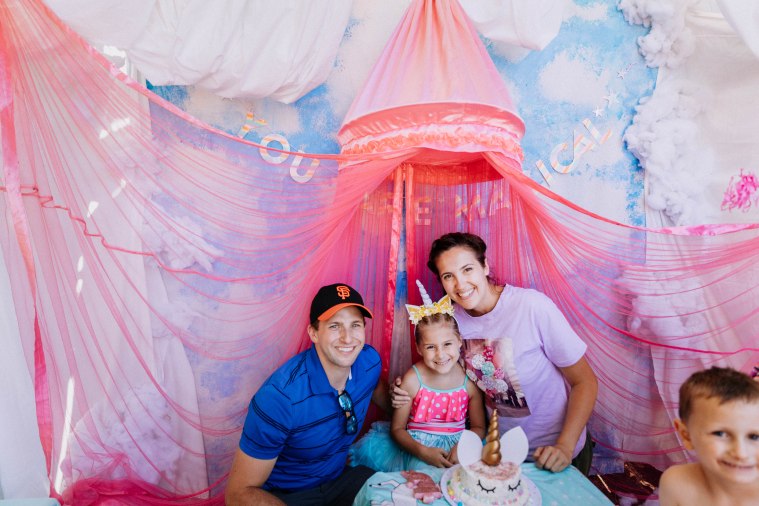
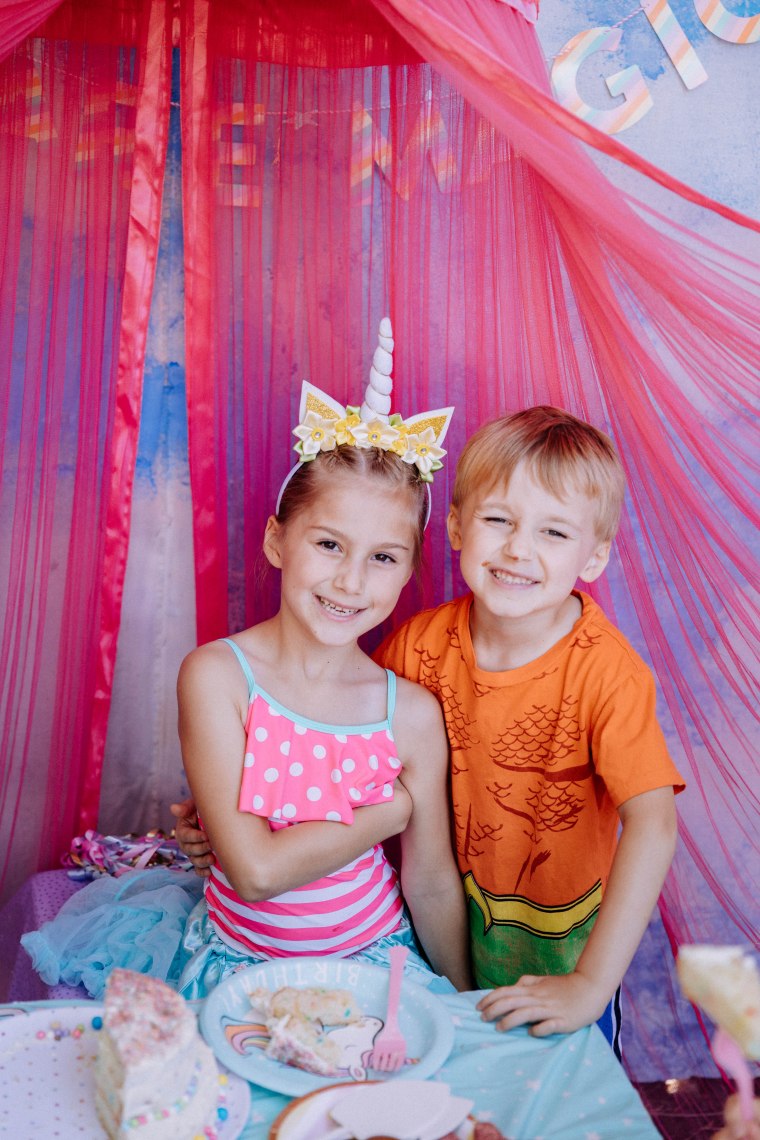
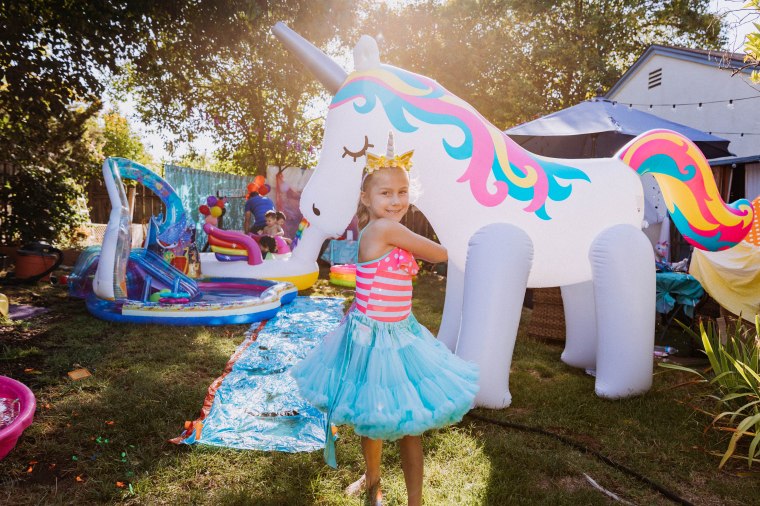
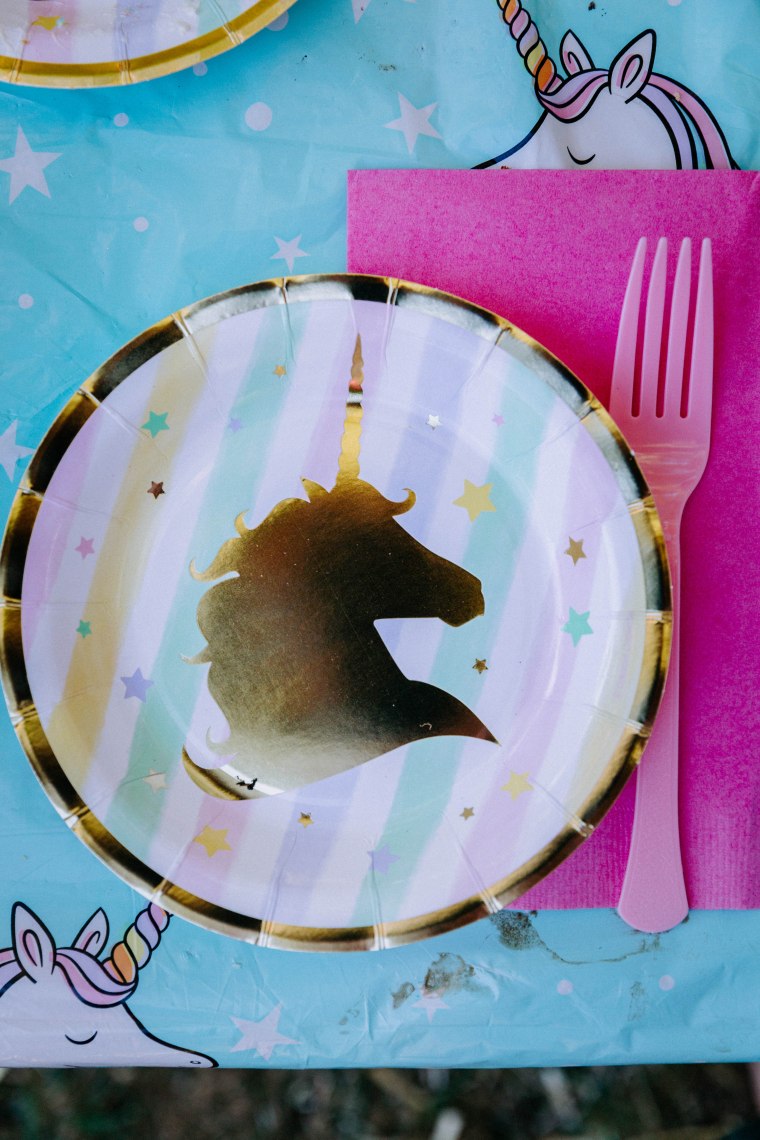
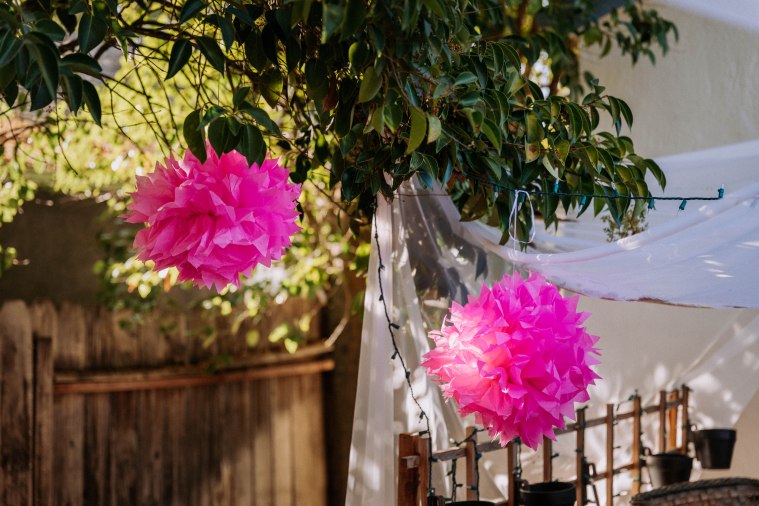
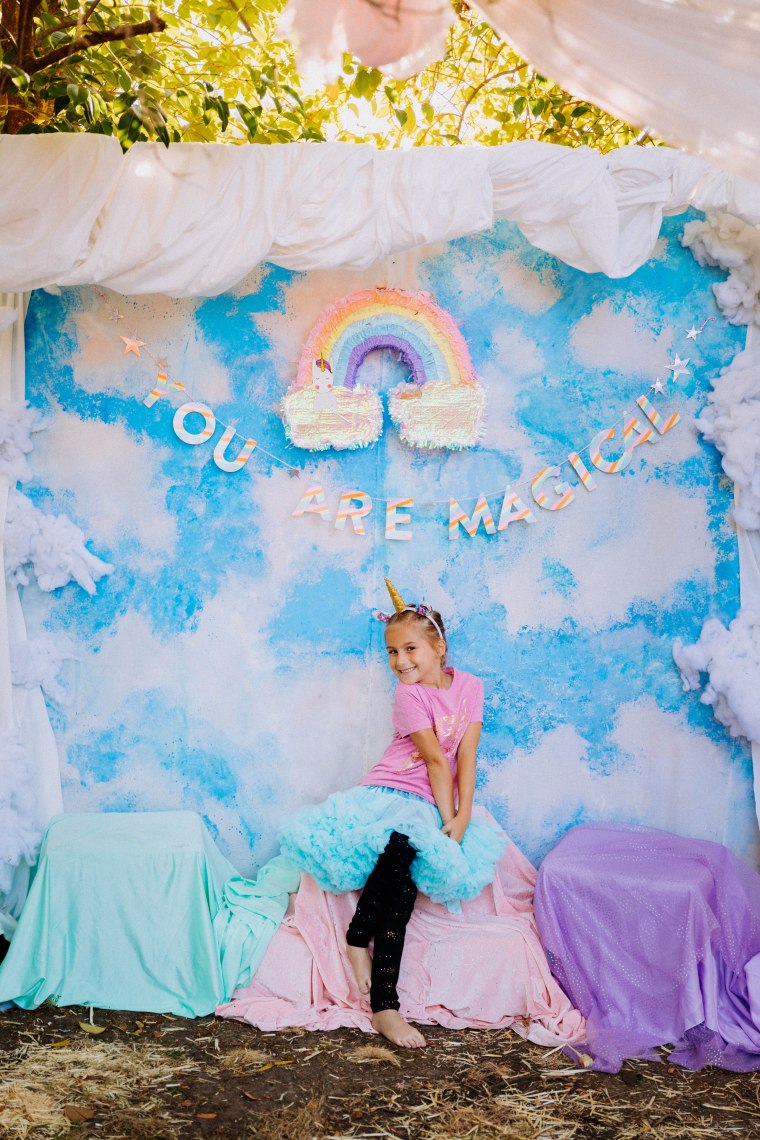
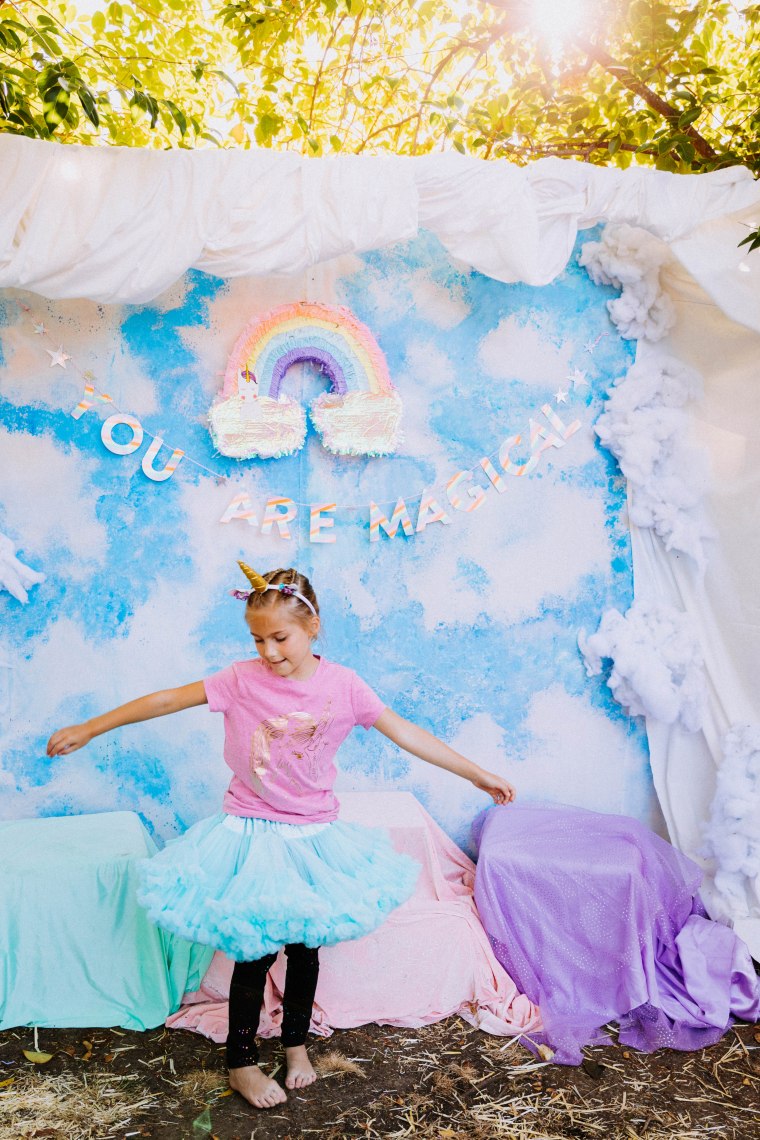
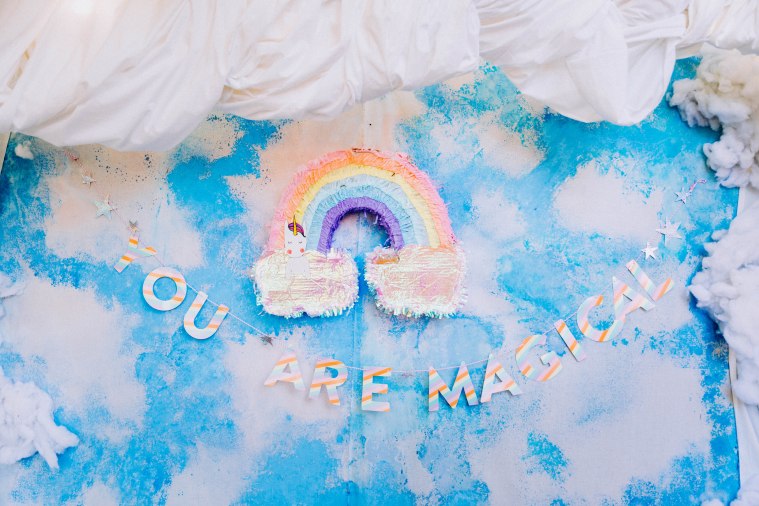
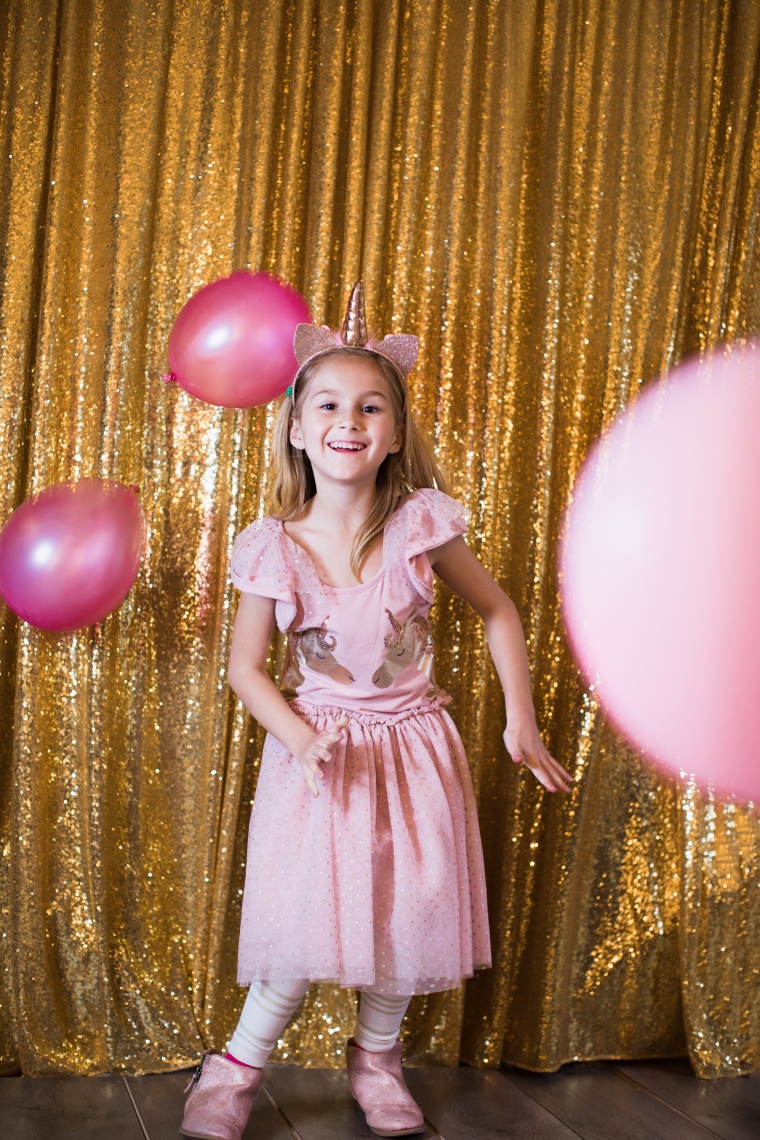
Who isn’t on the Unicorn Cra-cra-zy train lately?  We are all for the magical creature at our house.  Bring on the glitter and gold, rainbows and sparkles.

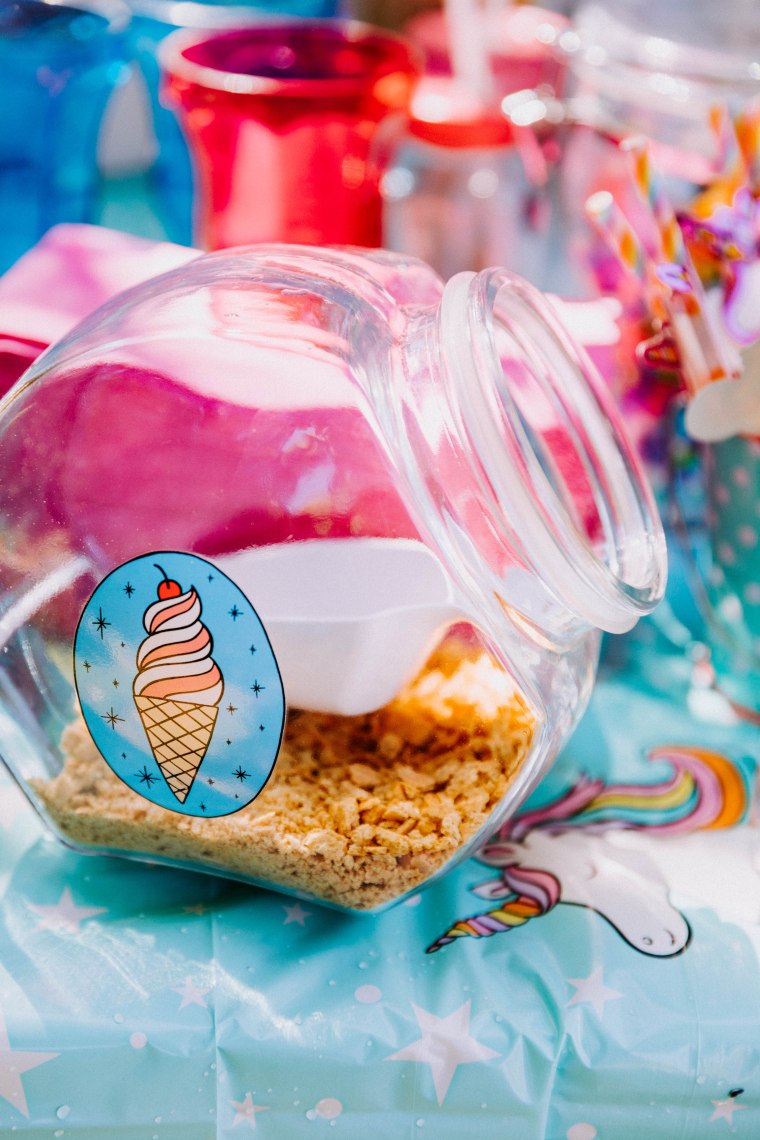
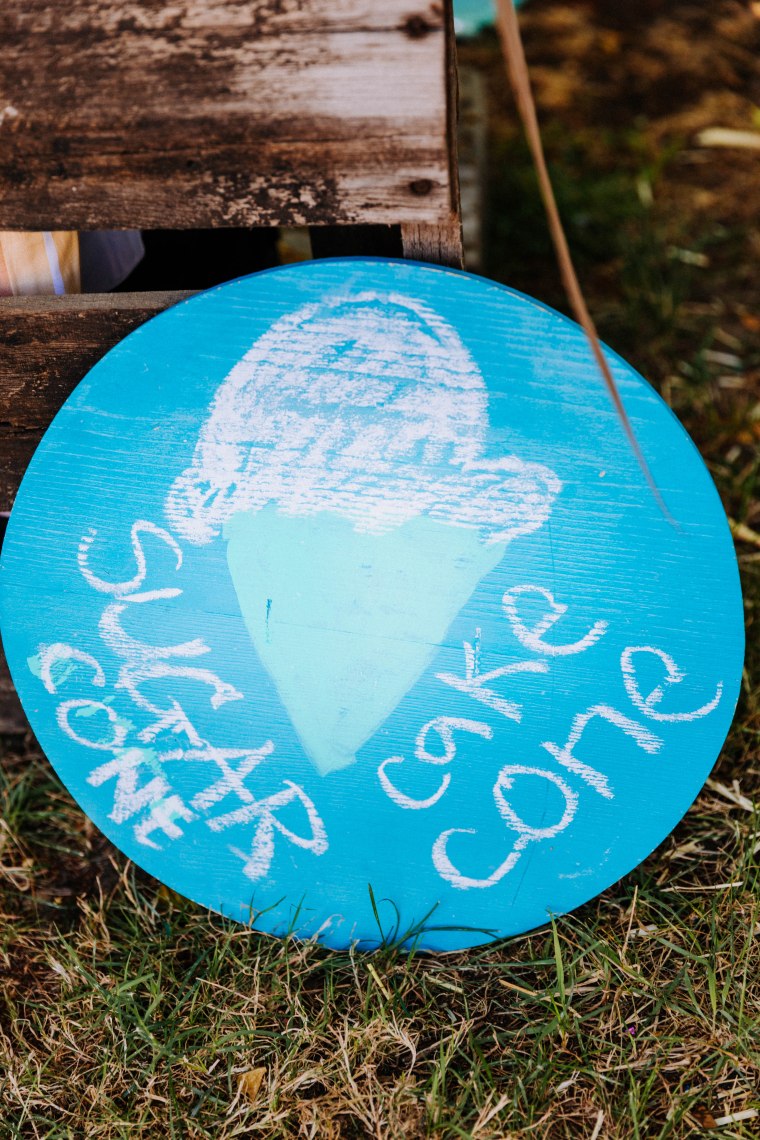
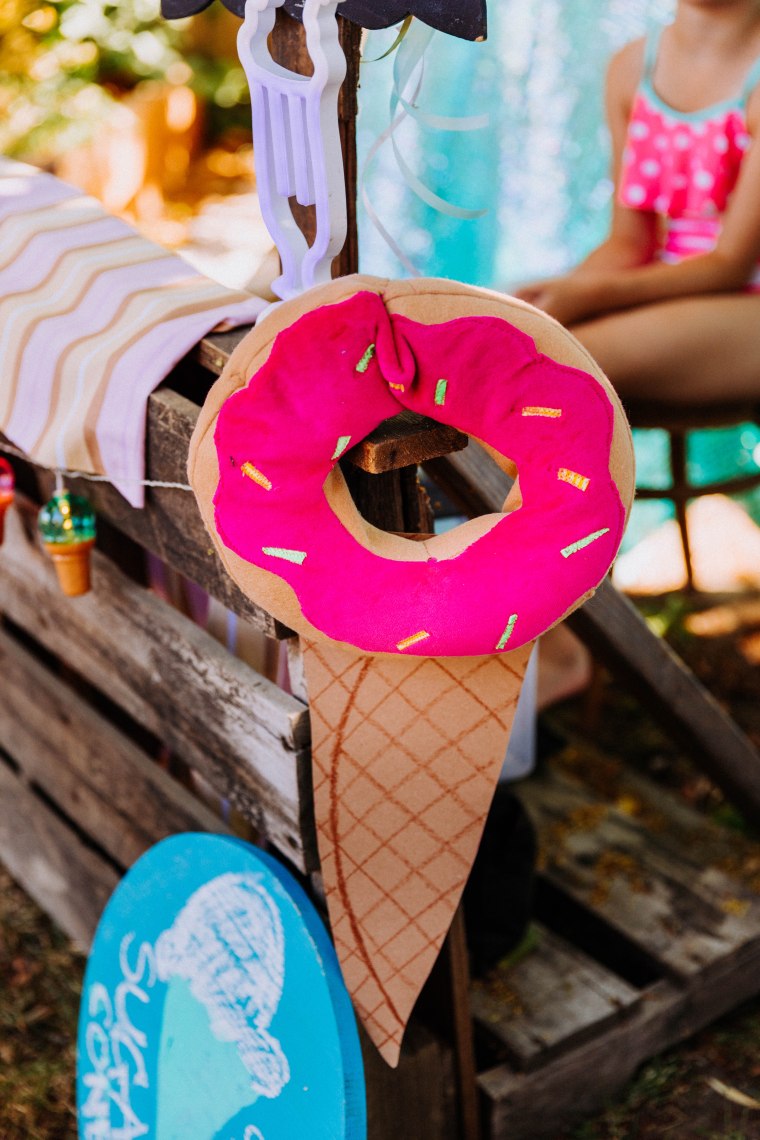
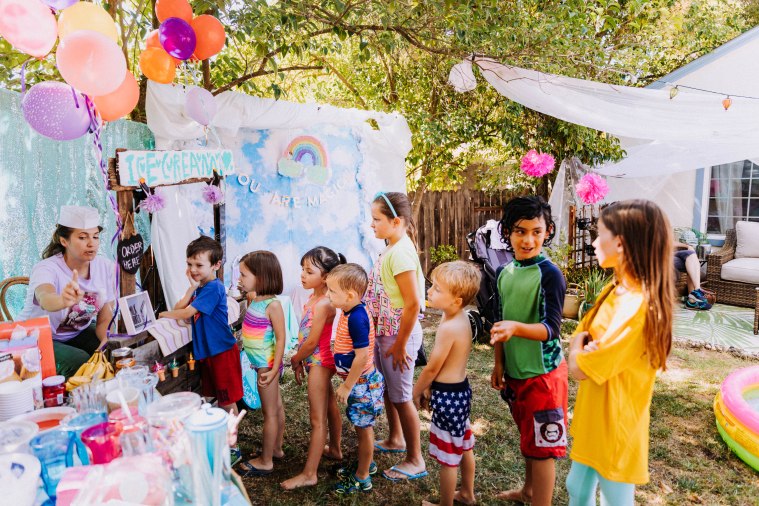
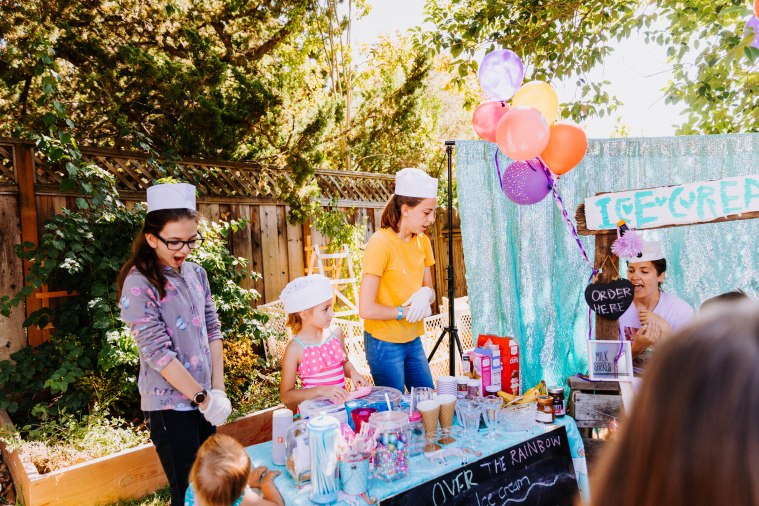
My daughter loves unicorns, ice cream and donuts, so we tried to incorporate those things for her birthday!

Madeline-7th-Unicorn-Birthday (1)Madeline-7th-Unicorn-Birthday (2)Madeline-7th-Unicorn-Birthday (4)Madeline-7th-Unicorn-Birthday (5)Madeline-7th-Unicorn-Birthday (6)Madeline-7th-Unicorn-Birthday (8)Madeline-7th-Unicorn-Birthday (9)Madeline-7th-Unicorn-Birthday (10)Madeline-7th-Unicorn-Birthday (11)Madeline-7th-Unicorn-Birthday (15)Madeline-7th-Unicorn-Birthday (16)Madeline-7th-Unicorn-Birthday (17)Madeline-7th-Unicorn-Birthday (18)Madeline-7th-Unicorn-Birthday (19)Madeline-7th-Unicorn-Birthday (22)Madeline-7th-Unicorn-Birthday (23)Madeline-7th-Unicorn-Birthday (24)Madeline-7th-Unicorn-Birthday (30)Madeline-7th-Unicorn-Birthday (34)Madeline-7th-Unicorn-Birthday (72)Madeline-7th-Unicorn-Birthday (76)Madeline-7th-Unicorn-Birthday (82)Madeline-7th-Unicorn-Birthday (89)Madeline-7th-Unicorn-Birthday (96)Madeline-7th-Unicorn-Birthday (102)Madeline-7th-Unicorn-Birthday (104)Madeline-7th-Unicorn-Birthday (107)Madeline-7th-Unicorn-Birthday (109)Madeline-7th-Unicorn-Birthday (110)Madeline-7th-Unicorn-Birthday (116)Madeline-7th-Unicorn-Birthday (118)Madeline-7th-Unicorn-Birthday (122)Madeline-7th-Unicorn-Birthday (138)Madeline-7th-Unicorn-Birthday (146)Madeline-7th-Unicorn-Birthday (158)

See It: Inspiration for the Ultimate Gingerbread House from the Festival of Trees

There is a LOT of pressure in our society to live the perfect life.  A serious “Keeping up with the Jones’s” obsession, as they call it. I do not claim to be a super mom crafting professional, but rather, just an artist giving it my best or sometimes just my experimental attempt at projects!

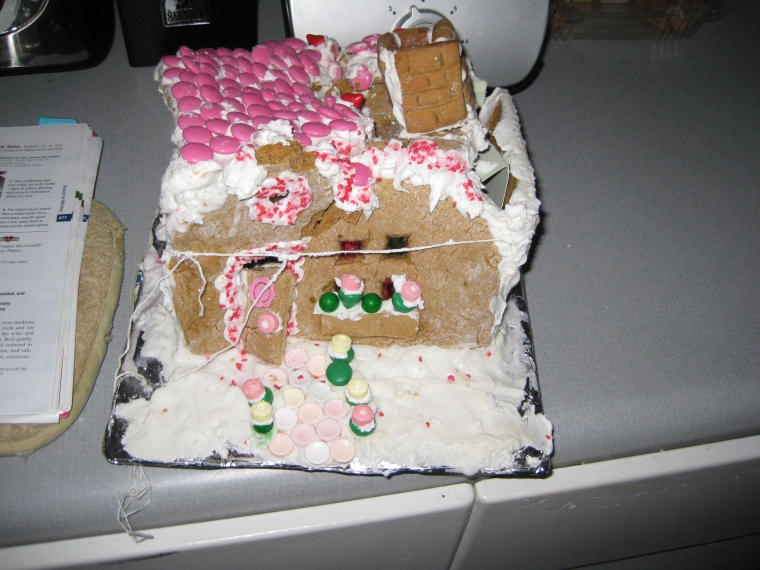
Years ago when we were living in our small 1950’s basement apartment we made gingerbread houses… tried to… from scratch.  It was an experiment to say the least.  As artists it is important not to kick yourself every time you got something wrong but rather, learn from whatever you did wrong, figure out how you will change it the next time and move on!

That is why I have kept this picture of my fairly pathetic attempt of a gingerbread house.  At least we had a good time laughing about how bad it was. As we started to ice the gingerbread house is would droop more and more. Classic Pinterest Failure (and Pinterest wasn’t even around yet!)

2008

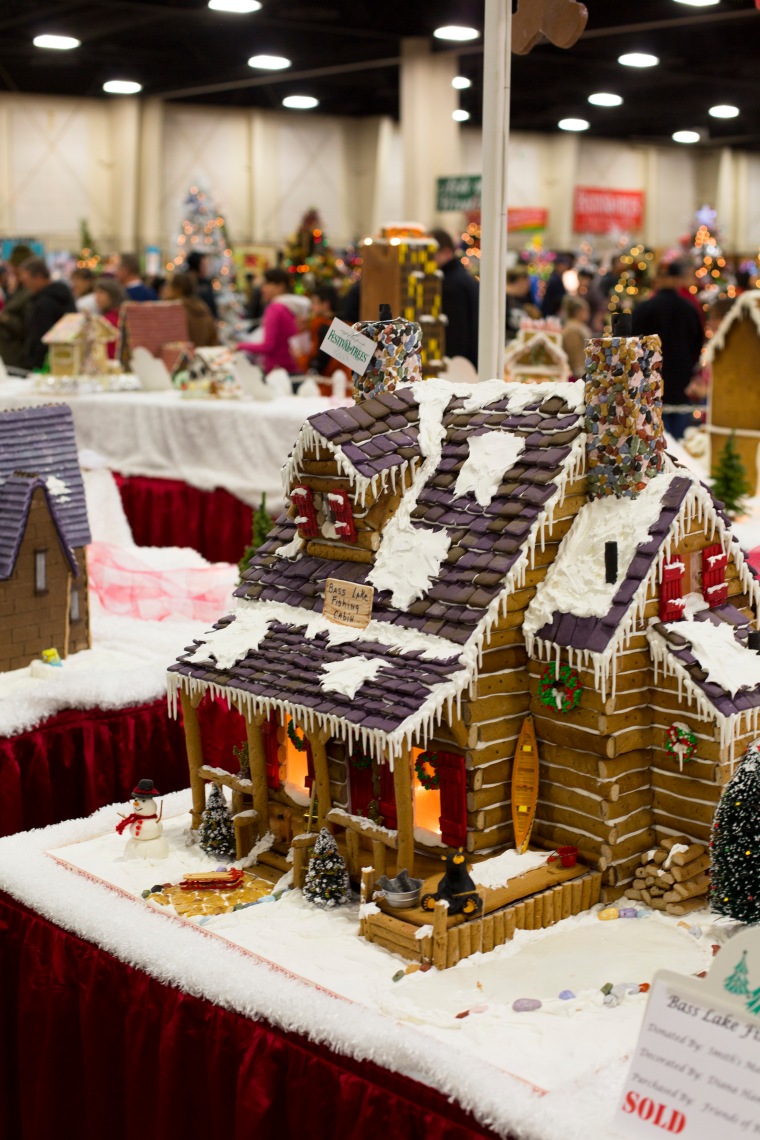
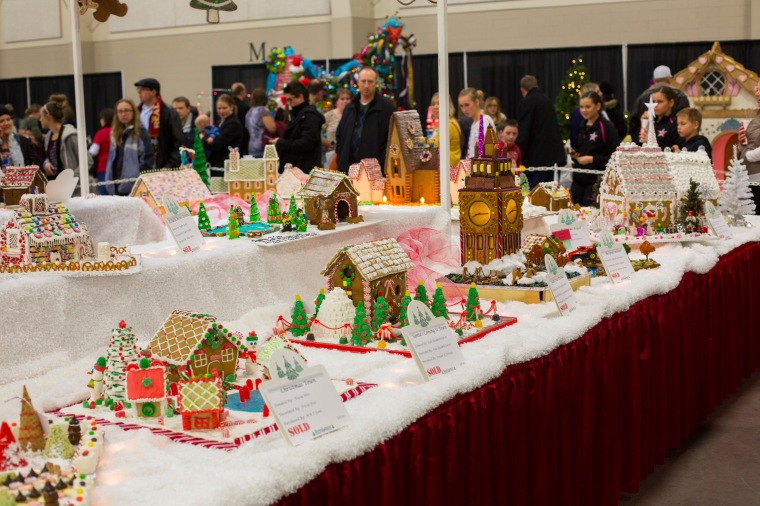
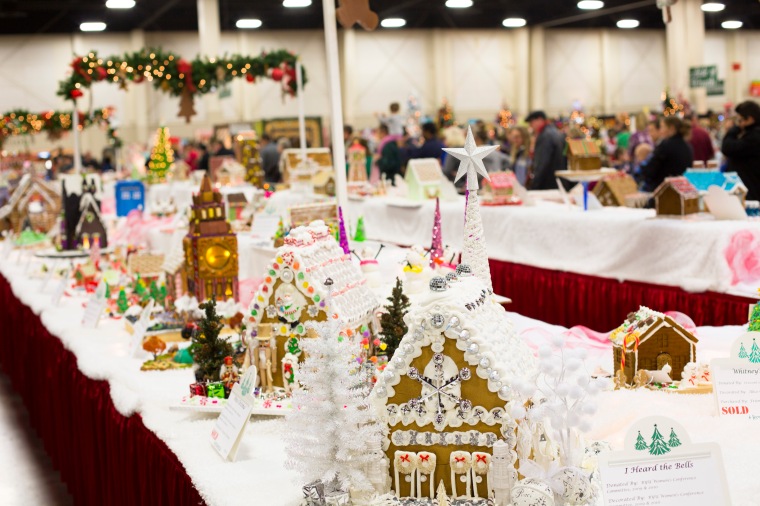
These pictures (below) are from our visit to the Festival of Trees in Sandy, UT.  It is a benefit for a local children’s hospital.  This is what true professional gingerbread building skill looks like.festival of trees_1

I love the cozy log cabin look.  What better combination for the frosted icing snow.festival of trees_2festival of trees_3

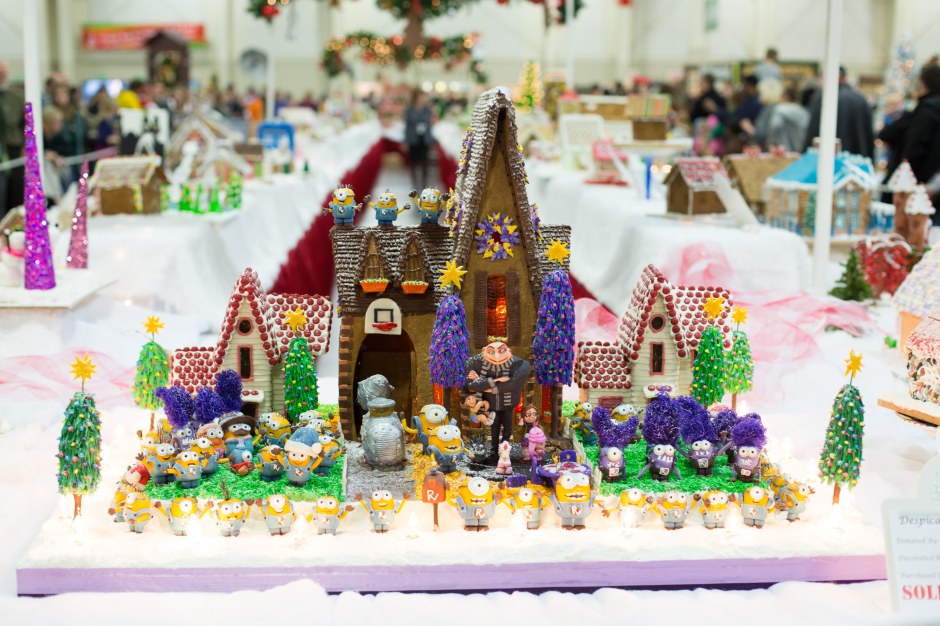
An adorable street of the Minions house from Despicable Mefestival of trees_5

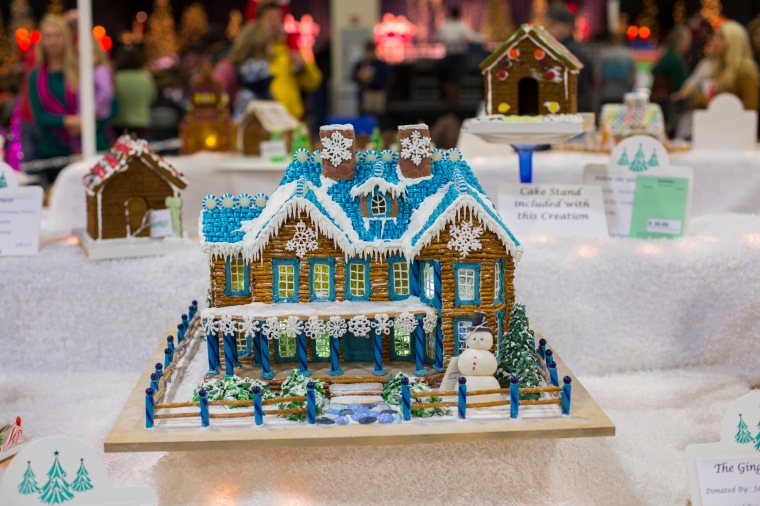
The log cabin look (below) was made with stick pretzels and I loved the colorful candy cane sticks use for the porch poles. Blueberry and blue raspberry are my favorite!festival of trees_6

Chex cereal was used for this gingerbread house roof.  I also like the dollops of melting snow piles made from icing.  Has a more realistic flair.

festival of trees_7

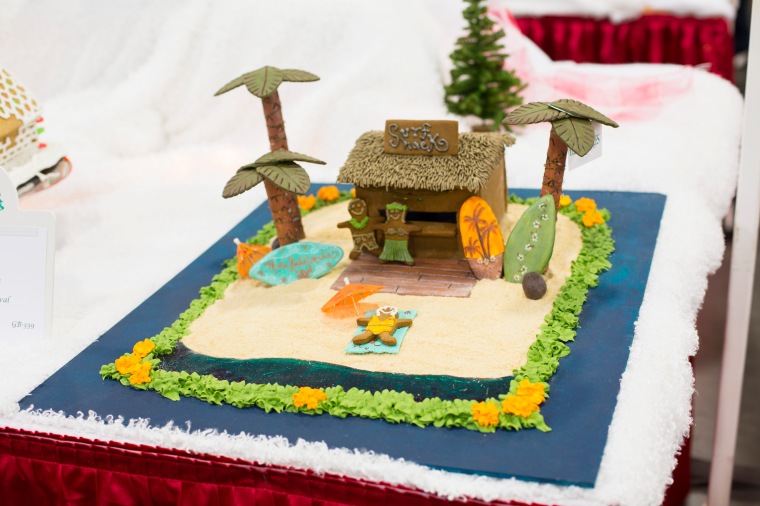
An out of the box Hawaiian styled gingerbread house.festival of trees_8

Flat sticks of gum for the gingerbread roof was a cute idea.  And the rock candy chimney. Yogurt dipped pretzels for an ornate styled fence.festival of trees_11

Giving a thumbs up on the job well done to my cousin in law Sarah! Gingerbread house building is a strong holiday tradition with their house.festival of trees_12

And last but not least, a gingerbread tree house!  So fun.  I love the artistry of this one.

festival of trees_13

Photography by: http://effervescentmediaworks.com

Why I love the art of gingerbread house making: When I was a child, my neighbor across the street invited me over to make a gingerbread house.  I looked forward to it all week. When that Saturday came, I was invited in and saw the crazy effort it can take to create gingerbread houses from scratch.  She had spent the entire day preparing the many walls and roofs and chimney parts for us to assemble and put together.  I remember feeling very special that she would take the time to prepare this activity for me to be a part of.  The holiday craft is one that is socially fun and a wonderful tradition as families gather around the table decorating their individual or group gingerbread house, sharing the bowls of candy and snitching a few tastes along the way.  And they are a fun little treat to last throughout the season as my cousin in law and his wife know as my 1 and 3-year-old kept sneaking snitches off their gingerbread houses:)

Have you had Pinterest failures? AKA craft attempts that turned out less than impressive!  Please share them in a comment below!  On the other hand, have you created a Gingerbread house that you are proud of? Share your results!

Make It: Carnival Birthday Party!

We had so much fun putting together this fun birthday party for my little Sister in Law.

It was a carnival-themed with lots of color and vintage vibes.

We had a lot of colorful triangle flags hanging across the room most of which were made with colored paper cut into an even isosceles triangle and folded over the yarn with a little glue.  The extra ends needed folded in.  Other string can be used but I recommend using only ribbon or yarn that does not fray easily.  To keep it from fraying, try putting a little piece of tape over the end.  These are a fairly versatile decoration that can be used for years to come.
emma-birthday-2013_1

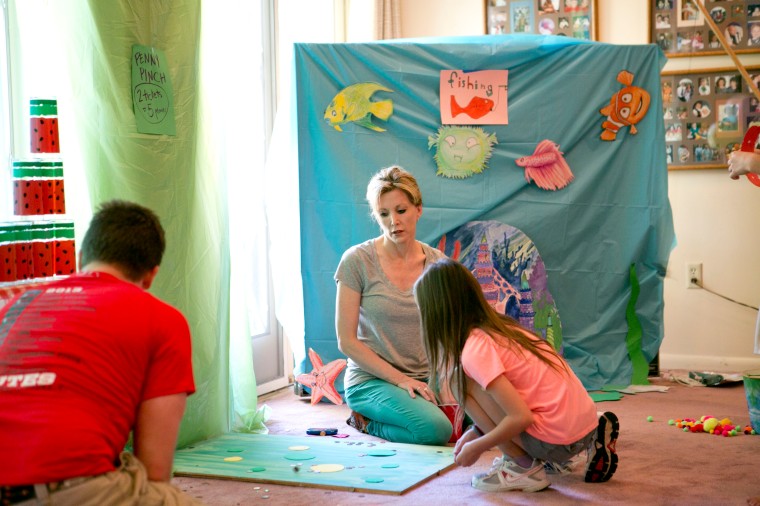
A lily pad pond (above).  I just cut out colored yellow and green foam into circles or lily pad shapes.  Then the children could attempt to throw coins to land on them.

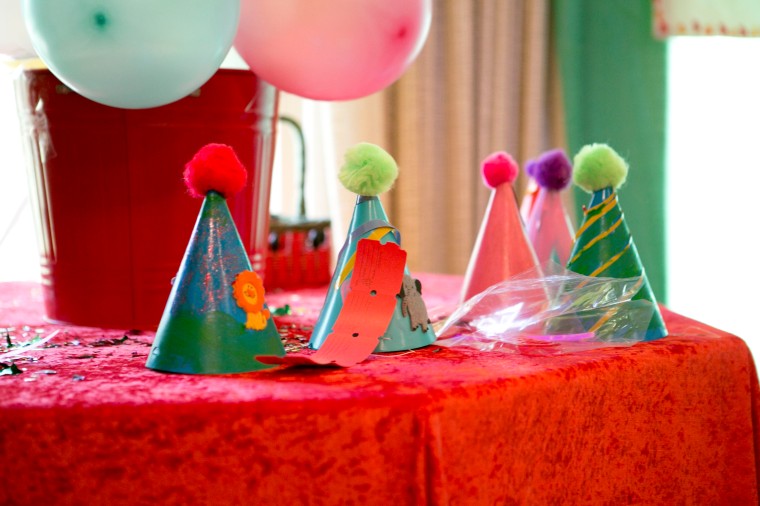
Decorative Party hats. My sis in law Megan prepared this one.  We had the kids decorate their own hats to wear.  This is a great activity to do as you wait for everyone to arrive. pom poms, glitter glue, stickers, paint etc.
emma-birthday-2013_2

This triangle flag banner has been used a lot.  As props for engagement photos, party decor etc.  But as you can see it is starting to fray which is why I recommend taping the ends and picking a ribbon that is sturdy, like cotton.  Then it can be used again and again.emma-birthday-2013_3
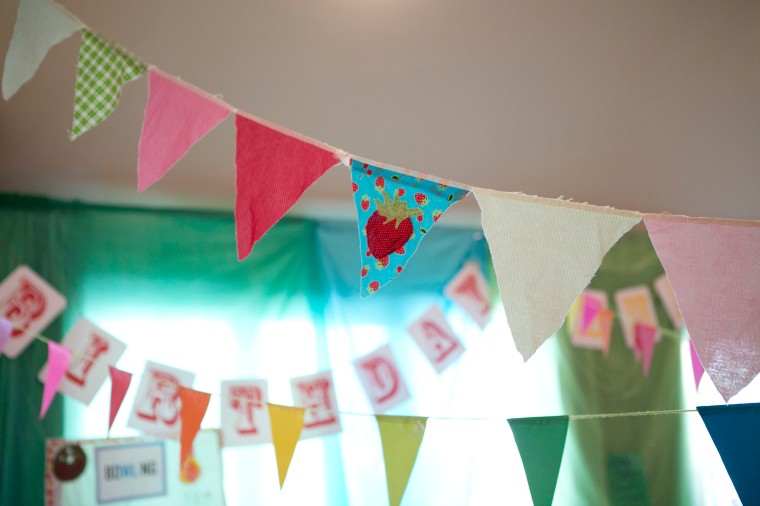
(Below) the Happy Birthday banner was printed out on card stock.  Get your FREE PRINTABLE for this Happy Birthday Banner here. (And please subscribe!)  Then we just hole punched them and attached them together.

We had access to some great little TV dinner tables that were the perfect size for stacking cups.  The little red and white checkered print went perfectly with our cute vintage theme. The cups were semi study plastic cups. Then you will also see here, is a bowling set that we found in the toys.

To make the booths feel a bit more like booths since this was all inside, we used colorful plastic table clothes (the cheap disposable kind) This really dressed up the room and was easy to tape up.

emma-birthday-2013_4

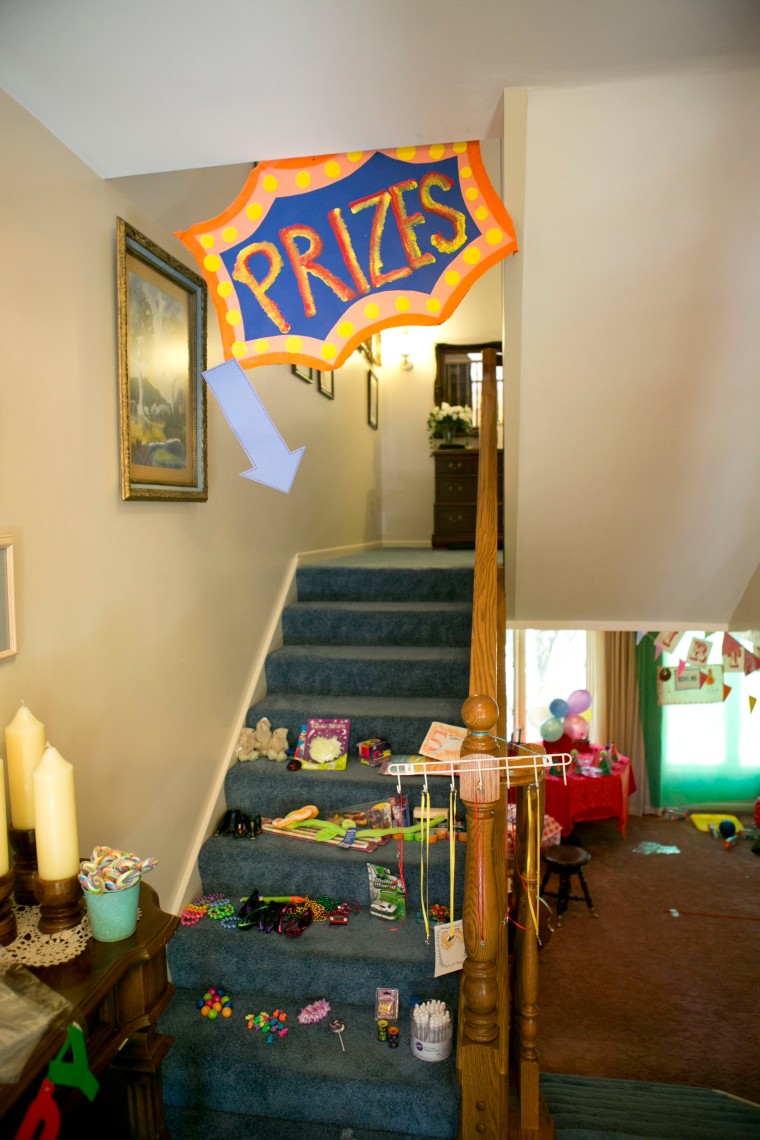
The stairs made for a perfect Prize zone.  We could layer them up based on number of tokens required.  Each child received tickets upon arrival but was able to win tokens, which were just wooden chips about 2.5 inches big and painted.emma-birthday-2013_5
The sisters and mom put together this fun personalized poster.  We put it near the entrance where the bags for their prizes were. They basically could make their own goodie bags to take home based on the prizes them won.  Gumballs in a mason jar made for a fun centerpiece.  I loved the pinwheels sticking out.  But beware, if you are doing your party outside, be sure to consider sticky heat that could melt them!emma-birthday-2013_6

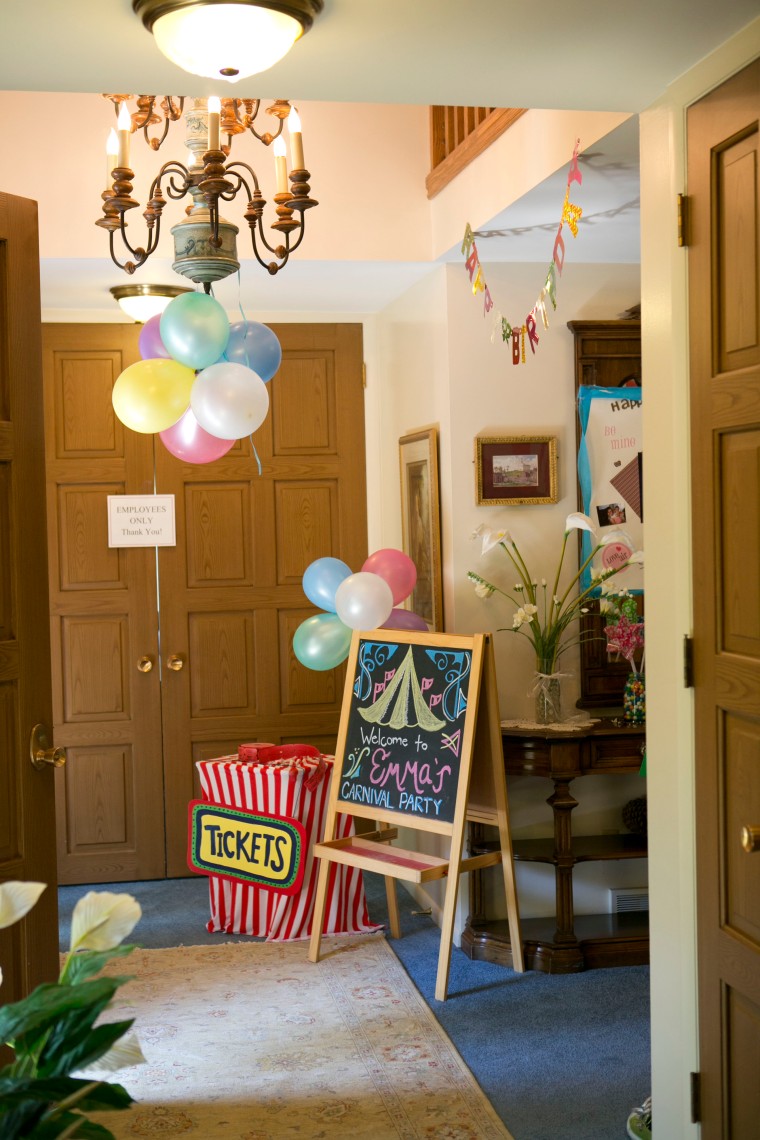
This is a chalk board that I have used for countless activities and carnival themed parties.  We just found a vintage design online to style after with chalk.  BTW, if you do not want your chalk to get smudged than chalk pens will help with that!  Or to create smooth chalk lines, try soaking your chalk for a few minutes in water.  (that was a trick we used when I use to work at a restaurant as a hostess) My sister in law drew up this cute board to welcome the guests.emma-birthday-2013_7

The ticket booth was fun fun! We again used a TV food table as it was the perfect size and then I had a piece of stretchy red and white striped fabric that I just clamped to the back.  The ticket sign was a tag board yellow piece painted and hung with yarn.  The red roll of tickets has lasted through about 6 carnival parties so far and was very worth the purchase.  I just found those as a Party City store.emma-birthday-2013_8
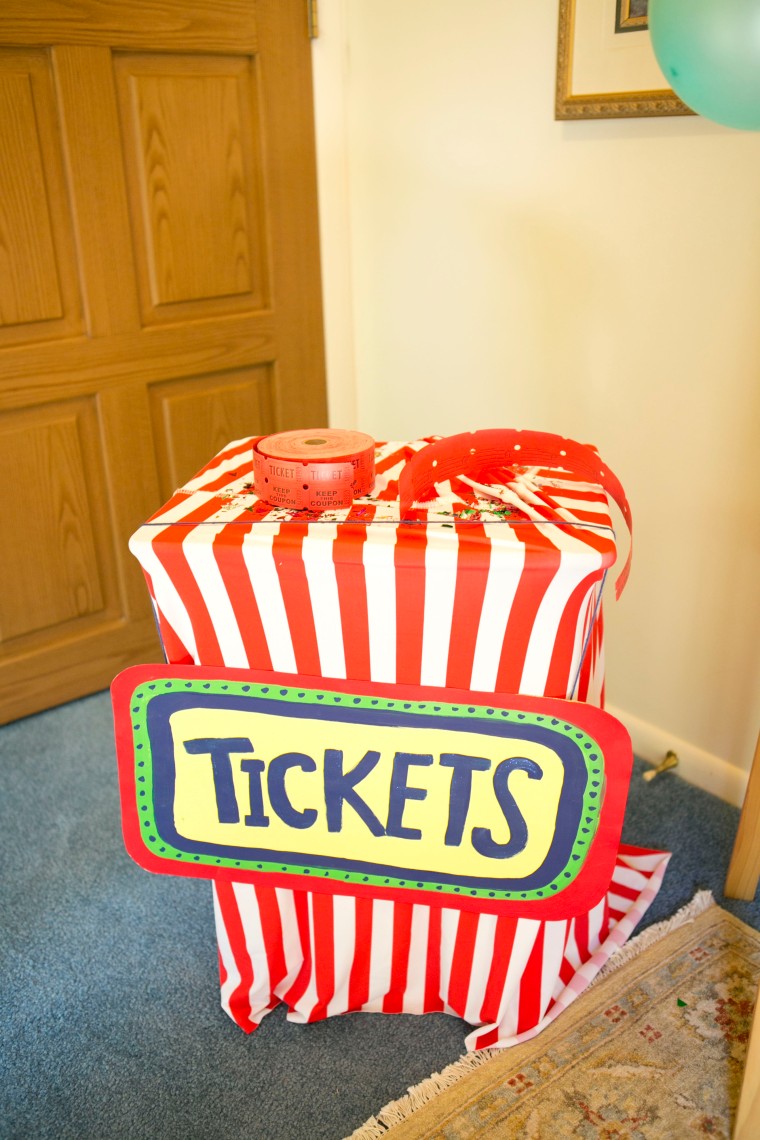
You can tell that some of my decorative pieces have already seen their share of parties!  I think when redoing this piece it will use red and white study cotton and take the time to sew it together for prolonged use.  This has lasted about 4 parties.  It is red and white tag board and cut and glued together with the bottom rounded.emma-birthday-2013_9emma-birthday-2013_10emma-birthday-2013_11emma-birthday-2013_12emma-birthday-2013_13
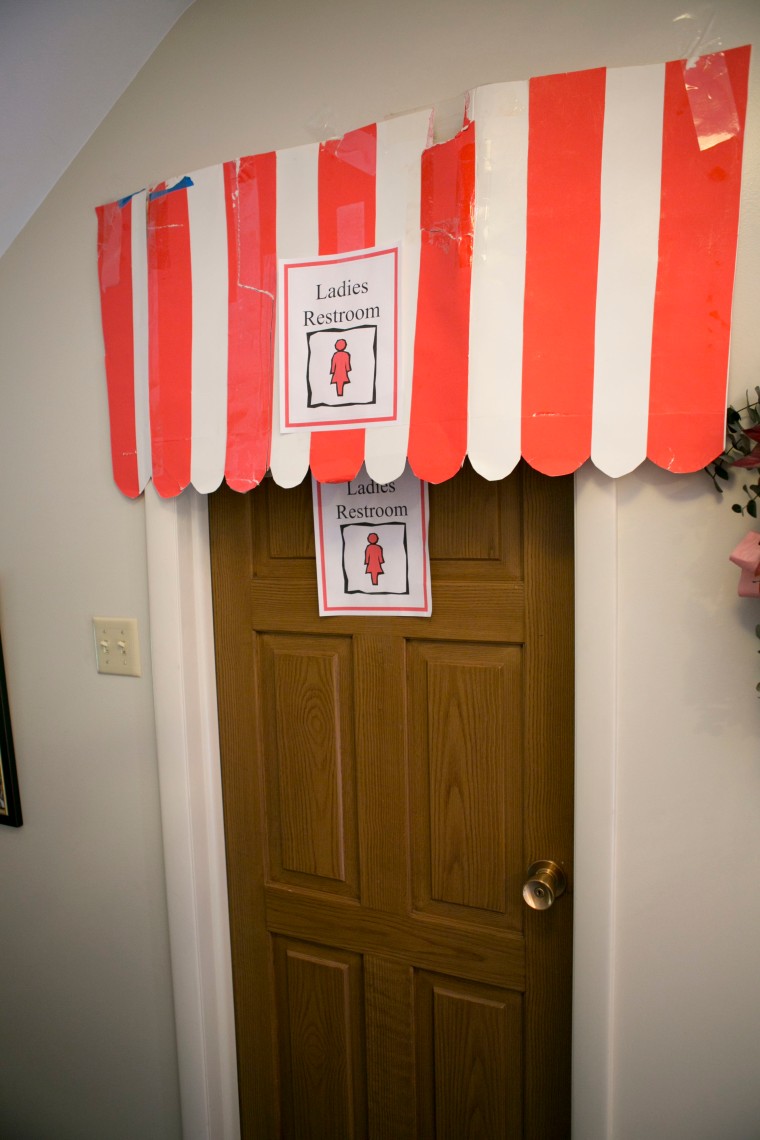
The birthday girl!  And her sisters love her to pieces to put together such a fun party:)emma-birthday-2013_14emma-birthday-2013_15
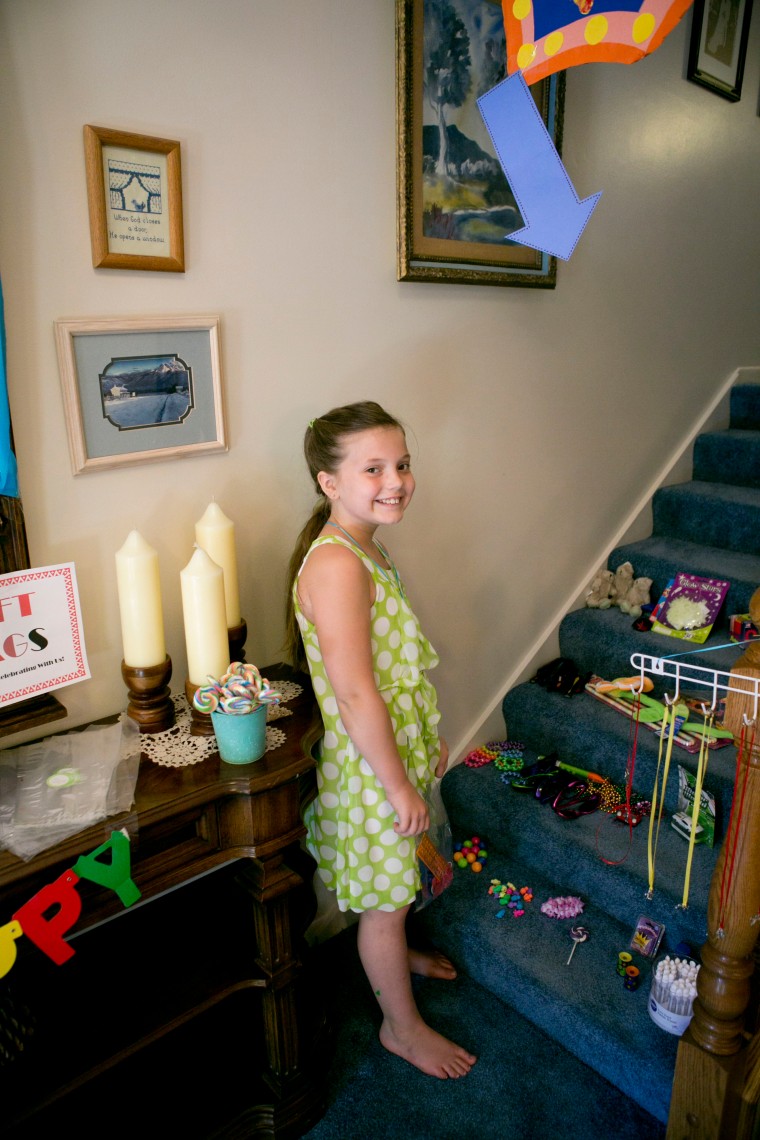
We did very “professional” face painting:)  For the props I used Femo clay for molding to the slick into fun shapes like lips and mustaches, then baked it and once cooled glued it to the stick.

emma-birthday-2013_18

Megan with her awesome party hat!emma-birthday-2013_20

Our fishing pond was made with:

– Colorful draw fish, cut out and lamented. (I have found that lamenting something like this is well worth it!  I have used these for dozens of things, like lessons at church, preschool and parties with relevant themes)

– Tape to tape on the sign and fish

– I created a fish setting on a piece of tag board with paint.  In the future I might buy a cheap blue sheet and then get some fabric paints to decorate a background)

-A 1.5 inch rod

-About 3 feet of string taped at the end

-A clothes pin tied to the other end of the stick for clamping the prizes to

To operate the fishing booth, we folded up a ping pong table which needed to happen anyway to make space for the party, but you can tie a rope to two sturdy anchor points or use a long stick or light weight wood beam to rest over two semi high surfaces such as two ladders.emma-birthday-2013_23
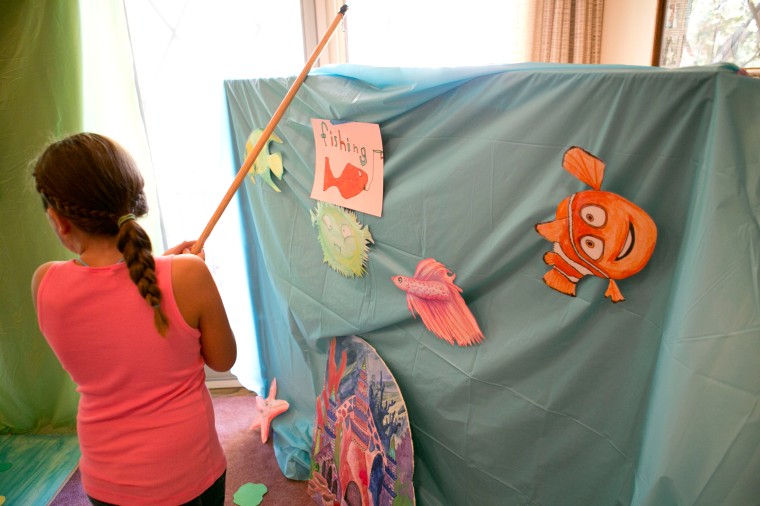
Part of what makes a party fun was to make it feel just condensed enough that it feels lively and fun.  This same principle is used for city planning in effective city lay outs where the parking is put at the back to the store fronts can come right up to the street.  So anyway, we were condensed as is in our space, but you want to find that even ground of spreading out enough for the games but having everything close enough that there is a fun energy present that they can all share.

For the other side of the room I used my photo backdrop stand with clamps to hang backdrops and plastic tables clothes.  Back porch poles with ropes tied in between or two ladders with wood safely clamped across in place are another route.  Also in the picture, another game that was fun was cups for tossing little balls into.

You can’t full see it in this picture, so I will hunt for a better one, but behind all this we had a theater area, where while the kids ate pizza and cake they watched a movie that we had actually made.  They had to of course pay with a ‘ticket’ to get into the movie.

All in all this party was a huge success!emma-birthday-2013_25

What party themes have you tried?  Share your party adventures in a comment below! What worked or didn’t work for your little crew?

Don’t forget to subscribe for many more of our fun and festive adventures in travel, parties, parenting, crafting and more!
Easy Valentine Cards

Valentine’s season in one of our favorite crafting seasons!  We just love all the cute colors and hearts and gifts that we make for giving friends and family.

Here are some super easy and beautiful Valentine cards we made this year that include two current art trends, watercolor and glitter.  The simplicity of this craft is perfect for a pro yet personal touch.

Here is what I used:

To start I used the 6 x 9 watercolor paper, because I don’t care for a lot of cutting and I could simply cut it straight from the pad binding.  Once I had the number I wanted I folder them on a flat surface and used the handles of my scissors to make a cleanly folded crease.

From there I starting mixing my paint a touch with about a teaspoon or tablespoon of water. I like to not mix it completely together as a variety of tones make a prettier heart.

I loosely painted my hearts and for fun on a few I flecked so paint speckles on my flicking my brush against my hand a few inches away from the card.

Last I laid the cards flat.  To help reduce chances of the paint running, I go creative in how they were laid to make sure they were flat.  The paper does tend to warp temporarily with the water color paint but when it dries it will go back to normal.

Let the cards all dry, for about an hour or too.  Make sure they are completely dry as you will not want the glitter to cling to the wet parts and if you try to move them while they are still drying you are more likely to have the paint bleed.

When they are dry use a bottle of Elmer’s glue and put your calligraphy skills to use.  Make sure your glue is all down in the end of the bottle and test on another piece of paper to get use to the speed it comes out for writing.  I recommend sticking to short words like Love, or abbreviations like: u r a q t (you are a cutie) Which will make them smile mouthing it out and trying to figure it out.

Other ideas are: Hello Beautiful, Hey There, Happy Valentines, Sweet, Cutie, xoxo… Simply consider the receiver of the card and what would put a smile on their face.

Valentine Card DIY ideas _5
Photography by Effervescent Media Works

Sprinkle your glitter on all over your glue, gently shake it off of the plate and set aside, face up to dry.

What my kids loved: Helping sprinkle the glitter and also painting the cards.  My toddler is quite proud every time she completes her masterpiece and I love that.  It is half the reason for doing crafts like this is worth it.  Instilling pride, self-esteem, and patience etc.

And there you have it!  Have fun!

Comment below if you have made a craft like this or one like it!  How did it turn out?

Fun and Fast Turkey Craft

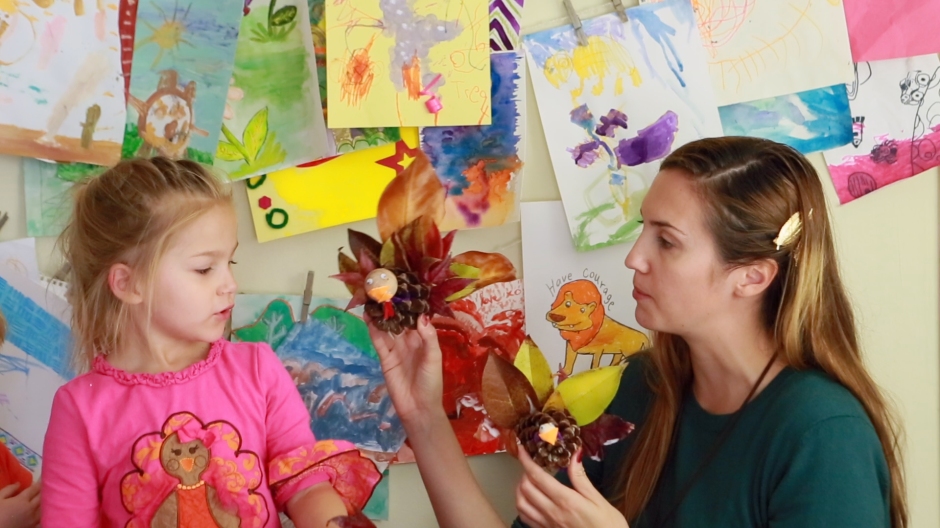
Each autumn, I can never get enough of these beautiful colorful leaves.  This fun craft is simple and brings together nature and fall color!  And makes for a cute table centerpiece for Thanksgiving or other holiday dinners.

I hadn’t ever seen a turkey in person before I moved to California and I would never have guessed I would find them here!  Palm trees and wild turkey’s, who knew.  That is northern California for you.  I did learn that wild turkey’s can be rather mean and will come right after you, so if you ever meet one, keep your distance!

https://www.youtube.com/channel/UCm5H7bPVgGmGAJkZG05YCKg

What you’ll need

      • Pinecones

//ws-na.amazon-adsystem.com/widgets/q?ServiceVersion=20070822&OneJS=1&Operation=GetAdHtml&MarketPlace=US&source=ac&ref=tf_til&ad_type=product_link&tracking_id=upandaway0a-20&marketplace=amazon&region=US&placement=B004BPXWWI&asins=B004BPXWWI&linkId=dbd73e3bc58aae88c7f49579dd1db82e&show_border=false&link_opens_in_new_window=true&price_color=333333&title_color=0066c0&bg_color=ffffff

    • Vibrant Leaves (best found in damp cold conditions near the base of it’s recently changing tree) If you are not in a place where real leaves are available use artificial ones.

//ws-na.amazon-adsystem.com/widgets/q?ServiceVersion=20070822&OneJS=1&Operation=GetAdHtml&MarketPlace=US&source=ac&ref=tf_til&ad_type=product_link&tracking_id=upandaway0a-20&marketplace=amazon&region=US&placement=B0043567XM&asins=B0043567XM&linkId=4ea6af83fbf7854b802c4baaf7ded4ef&show_border=false&link_opens_in_new_window=true&price_color=333333&title_color=0066c0&bg_color=ffffff

//ws-na.amazon-adsystem.com/widgets/q?ServiceVersion=20070822&OneJS=1&Operation=GetAdHtml&MarketPlace=US&source=ac&ref=tf_til&ad_type=product_link&tracking_id=upandaway0a-20&marketplace=amazon&region=US&placement=B000Q3KHCM&asins=B000Q3KHCM&linkId=a8e0a4babaeafdfc951df0b095a4c265&show_border=false&link_opens_in_new_window=true&price_color=333333&title_color=0066c0&bg_color=ffffff
//ws-na.amazon-adsystem.com/widgets/q?ServiceVersion=20070822&OneJS=1&Operation=GetAdHtml&MarketPlace=US&source=ac&ref=tf_til&ad_type=product_link&tracking_id=upandaway0a-20&marketplace=amazon&region=US&placement=B005O9FZ8Y&asins=B005O9FZ8Y&linkId=1159cb3c5217c007e3829d8f17ba4ac9&show_border=false&link_opens_in_new_window=true&price_color=333333&title_color=0066c0&bg_color=ffffff

//ws-na.amazon-adsystem.com/widgets/q?ServiceVersion=20070822&OneJS=1&Operation=GetAdHtml&MarketPlace=US&source=ac&ref=tf_til&ad_type=product_link&tracking_id=upandaway0a-20&marketplace=amazon&region=US&placement=B0054G5K6E&asins=B0054G5K6E&linkId=fd06c0348bd8f18b47c54be81d14f2d5&show_border=false&link_opens_in_new_window=true&price_color=333333&title_color=0066c0&bg_color=ffffff

//ws-na.amazon-adsystem.com/widgets/q?ServiceVersion=20070822&OneJS=1&Operation=GetAdHtml&MarketPlace=US&source=ac&ref=tf_til&ad_type=product_link&tracking_id=upandaway0a-20&marketplace=amazon&region=US&placement=B002PNR102&asins=B002PNR102&linkId=9ba26259030b695fb53cb64ddcae466d&show_border=false&link_opens_in_new_window=true&price_color=333333&title_color=0066c0&bg_color=ffffff
//ws-na.amazon-adsystem.com/widgets/q?ServiceVersion=20070822&OneJS=1&Operation=GetAdHtml&MarketPlace=US&source=ac&ref=tf_til&ad_type=product_link&tracking_id=upandaway0a-20&marketplace=amazon&region=US&placement=B002PNS2QE&asins=B002PNS2QE&linkId=08ce80953676c5e798de3faeedc21760&show_border=false&link_opens_in_new_window=true&price_color=333333&title_color=0066c0&bg_color=ffffff
//ws-na.amazon-adsystem.com/widgets/q?ServiceVersion=20070822&OneJS=1&Operation=GetAdHtml&MarketPlace=US&source=ac&ref=tf_til&ad_type=product_link&tracking_id=upandaway0a-20&marketplace=amazon&region=US&placement=B001BKFTB8&asins=B001BKFTB8&linkId=189a3b62b09f856f0bd38161c0173d8f&show_border=false&link_opens_in_new_window=true&price_color=333333&title_color=0066c0&bg_color=ffffff

May your house be filled with cheer and a little gobble gobble!
Happy Crafting!

DIY Playroom Decor: Fairytale Toad “Stools”

I have been wanting to make these for some time now!  Mushroom and toadstools for a nursery or playroom.  These adorable furniture pieces are perfect for the kids to sit and read their books on.  But as a photographer, they also happen to be the cutest photo prop too or this woodland styled photoshoot!  This shoot has Madeline in the cutest fairy costume from Princess Paradise. I love all things fairy and fairy tale themed.

Here is the complete list of things you will need for these adorable mushrooms:

Supplies:

Don’t forget to subscribe to our Youtube Channel for more regular motherhood fun! Homemaking, DIY, Shake it off with a little laughter and more.


Behind the Scenes with our Scrapbooking fun!

I have always been big into scrap booking since I like to save everything but lately Madeline and I have enjoyed sharing this hobby and it is a great way to encourage your toddler to practice writing!

Just like Zumba takes the work our of workout, activities such as this one take the humdrum out of repetitive letter writing and make it a fun activity that not only brings back fun memories but also showcases that adorable developing penmanship alongside the pictures of that same age.

While digital scrap booking may be faster and cheaper, it cannot replace the fun of hands on crafting and mommy daughter bonding time!


Scrapbooking on a budget.

When I mentioned before that I save everything… ok not everything,  but I think twice about throwing things away, but I would consider myself a green conscious crafter.  For example, when I go to tear a tag off of a new bit of clothing, sometimes they are super cute! And I think… this would be cute with a little picture glued on for our scrap booking, so it goes in a box.  Or perhaps the printed backdrop of a castle from Madeline’s barbie box that is cute but technically trash… I think, hmmm this would be cute when we go to scrap book Disneyland and whala! Another cute addition.

The list goes on! It can be a bit of ribbon off a little present or an old newspaper or our own scrapbook background paper with watercolor and a bit of artistic fun.  Pretty much we are always up to make messes and memories together.

If you are new to scrapbooking and looking for a place to start, we love Becky Higgins!  They make it really easy and doable of a craft.  The full pages, like the one you see below, are just some of what we do, otherwise, we will do these insert pages.

crafting with toddlers0

https://www.youtube.com/channel/UCm5H7bPVgGmGAJkZG05YCKg

Don’t forget to subscribe to our Youtube Channel for more regular motherhood fun! Homemaking, DIY, Shake it off with a little laughter and more.


DIY Nursery Decor

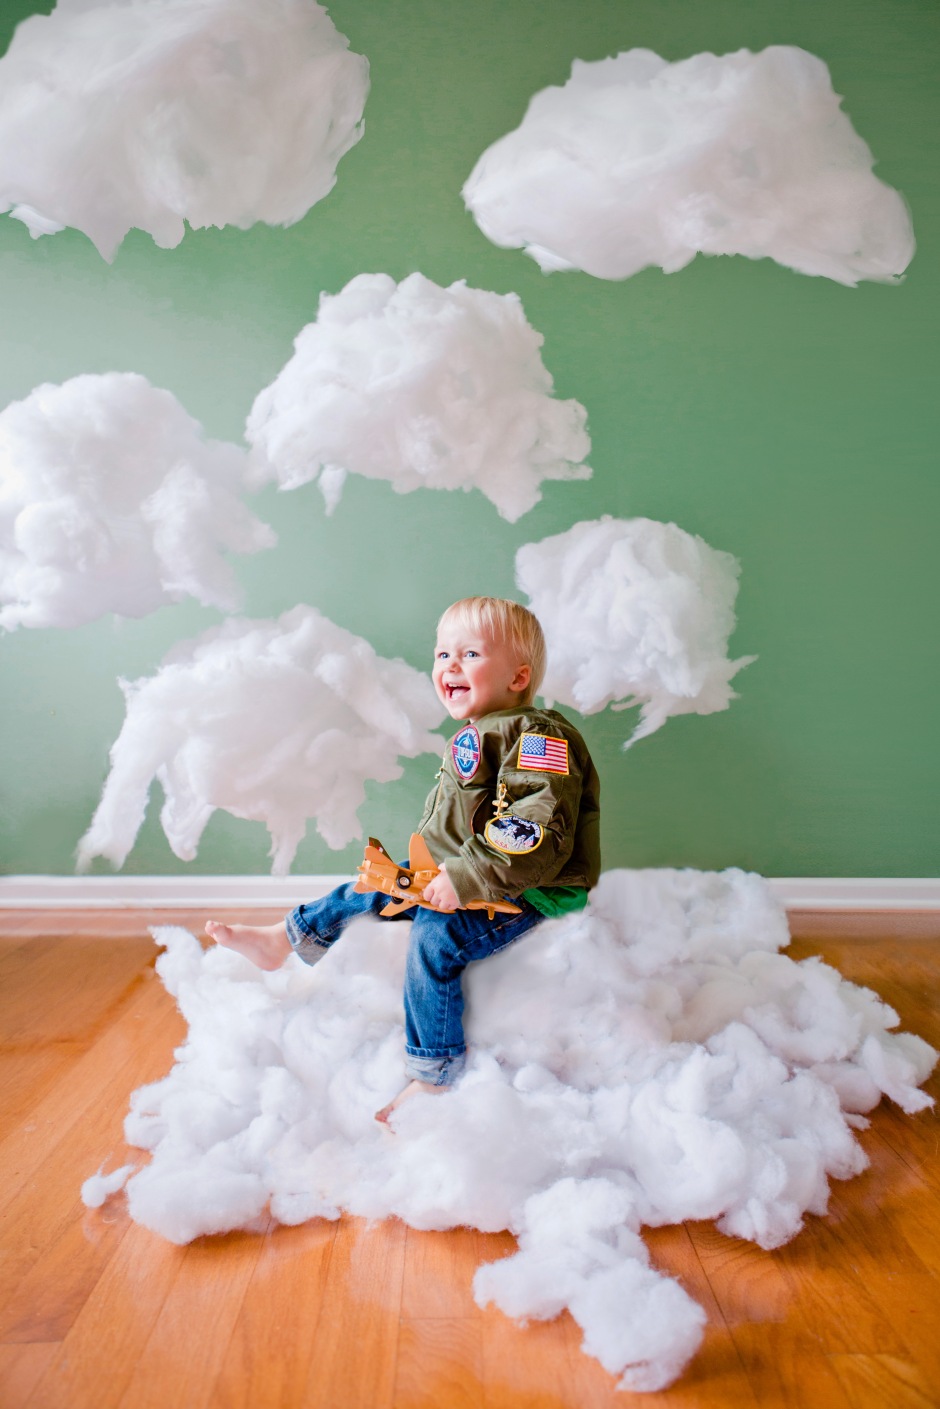
We are celebrating Milo’s 2nd birthday this week!  And for his 2nd year photo shoot, we went with an aviator theme because he is in LOVE with airplanes.  He almost always is holding a little toy in one hand, such as a plan, train, car or dinosaur.  So sweet.  These adorable clouds are very simple to make!  I think they are so fun to hang up in a nursery to add a bit of heaven to the room.

Milo 2 year photoshootA

What you’ll need:

  • white paper lanterns (we used 12″ lanterns from LIHAO, White Round Paper Lanterns)
  • string
  • Stuffing (we used 2x Poly-Fil Stuffing, 20 oz bags)
  • Hot glue gun and hot glue sticks
  • Hooks or other secure and safe system to hang them on the ceiling

To make these cute clouds, simply open the stuffing.  The kids LOVED helping with this part.  We had 2 large bags of stuffing that made about 4-5 large clouds + some for sitting on.  The kids loved jumping in the piles of fluff!

Assemble your paper lanterns

Warm up your hot glue and when ready, glue zig zags in 8 inch areas so you can get the stuffing on before it cools.

Put one hand through the hole of the lantern and the other on the outside to gently clap your hands together to apply the pressure so the stuffing sticks.

Repeat until all the lantern is covered except for the holes.

Tie on your string and hang them at varying heights!

For an additional special effect, add ACPtek LED Part Lights for a unique effect of glowing from the inside. Be sure these lights are secure tied into your lanterns.

Funny side story about these clouds.  I had them hanging in my kitchen after we had done this shoot, and I was babysitting for a friend. Her little 5 year old boy asked me what it was and I said , “a cloud!”  and he asked if it was real.  I held a staight face and told him that I had captured the cloud with a really long rope.  For about 5 minutes he stared at the cloud trying to figure it out and then finally he stands up and puts his hand though the bottom hole of it and says, “It’s not a cloud!  See… I can put my hand through it! You tricked me!”

So funny and sweet, but the best thing was when after that he said,  “you know… if you really wanted to catch a cloud you would need a really really long rope!”

I died!  I love children’s imaginations of how much is possible in their mind.

When my husband was a little boy, about 3, he thought the smoke coming from a factory was a cloud maker.  Sweet young innocence.

Share your results with us! What will you use these cute clouds for?  Props? Nursery decor?  Let us know in the comments below!